This is something that I debated for quite some time whether to do or not, simply because I'd already built the interior and didn't want to have to change where things go or lose what was already precious space inside.
I did a bit of googling, to see what others had done, and very limited stuff came up. It quickly became obvious that it's no way near as popular as being done in transporters. The only stuff I could find was that a few people on a couple of forums had installed their heater inside, in the middle of the floor - which obviously I didn't want to do.
I figured that this is something I'd just have to work out on my own.
I bought a 12v Autoterm Planar 2D Diesel heater kit (it's a 2kw diesel heater), and narrowed it down to 4 possible locations to install. I ultimately chose to mount it externally, due to being easier to access for maintenance and not losing space inside the van.
If you have a VW Caddy Maxi and have been turning it into a campervan, hopefully this post helps you out and you can see where I've installed the parts.
Even if you don't have a Caddy, it should give you an idea of what goes where.
. . . . . . . . . . . . . . .
Fuel lines
I didn't want a separate fuel tank for the heater, which meant only one thing, I'd have to tap into the vans fuel tank.
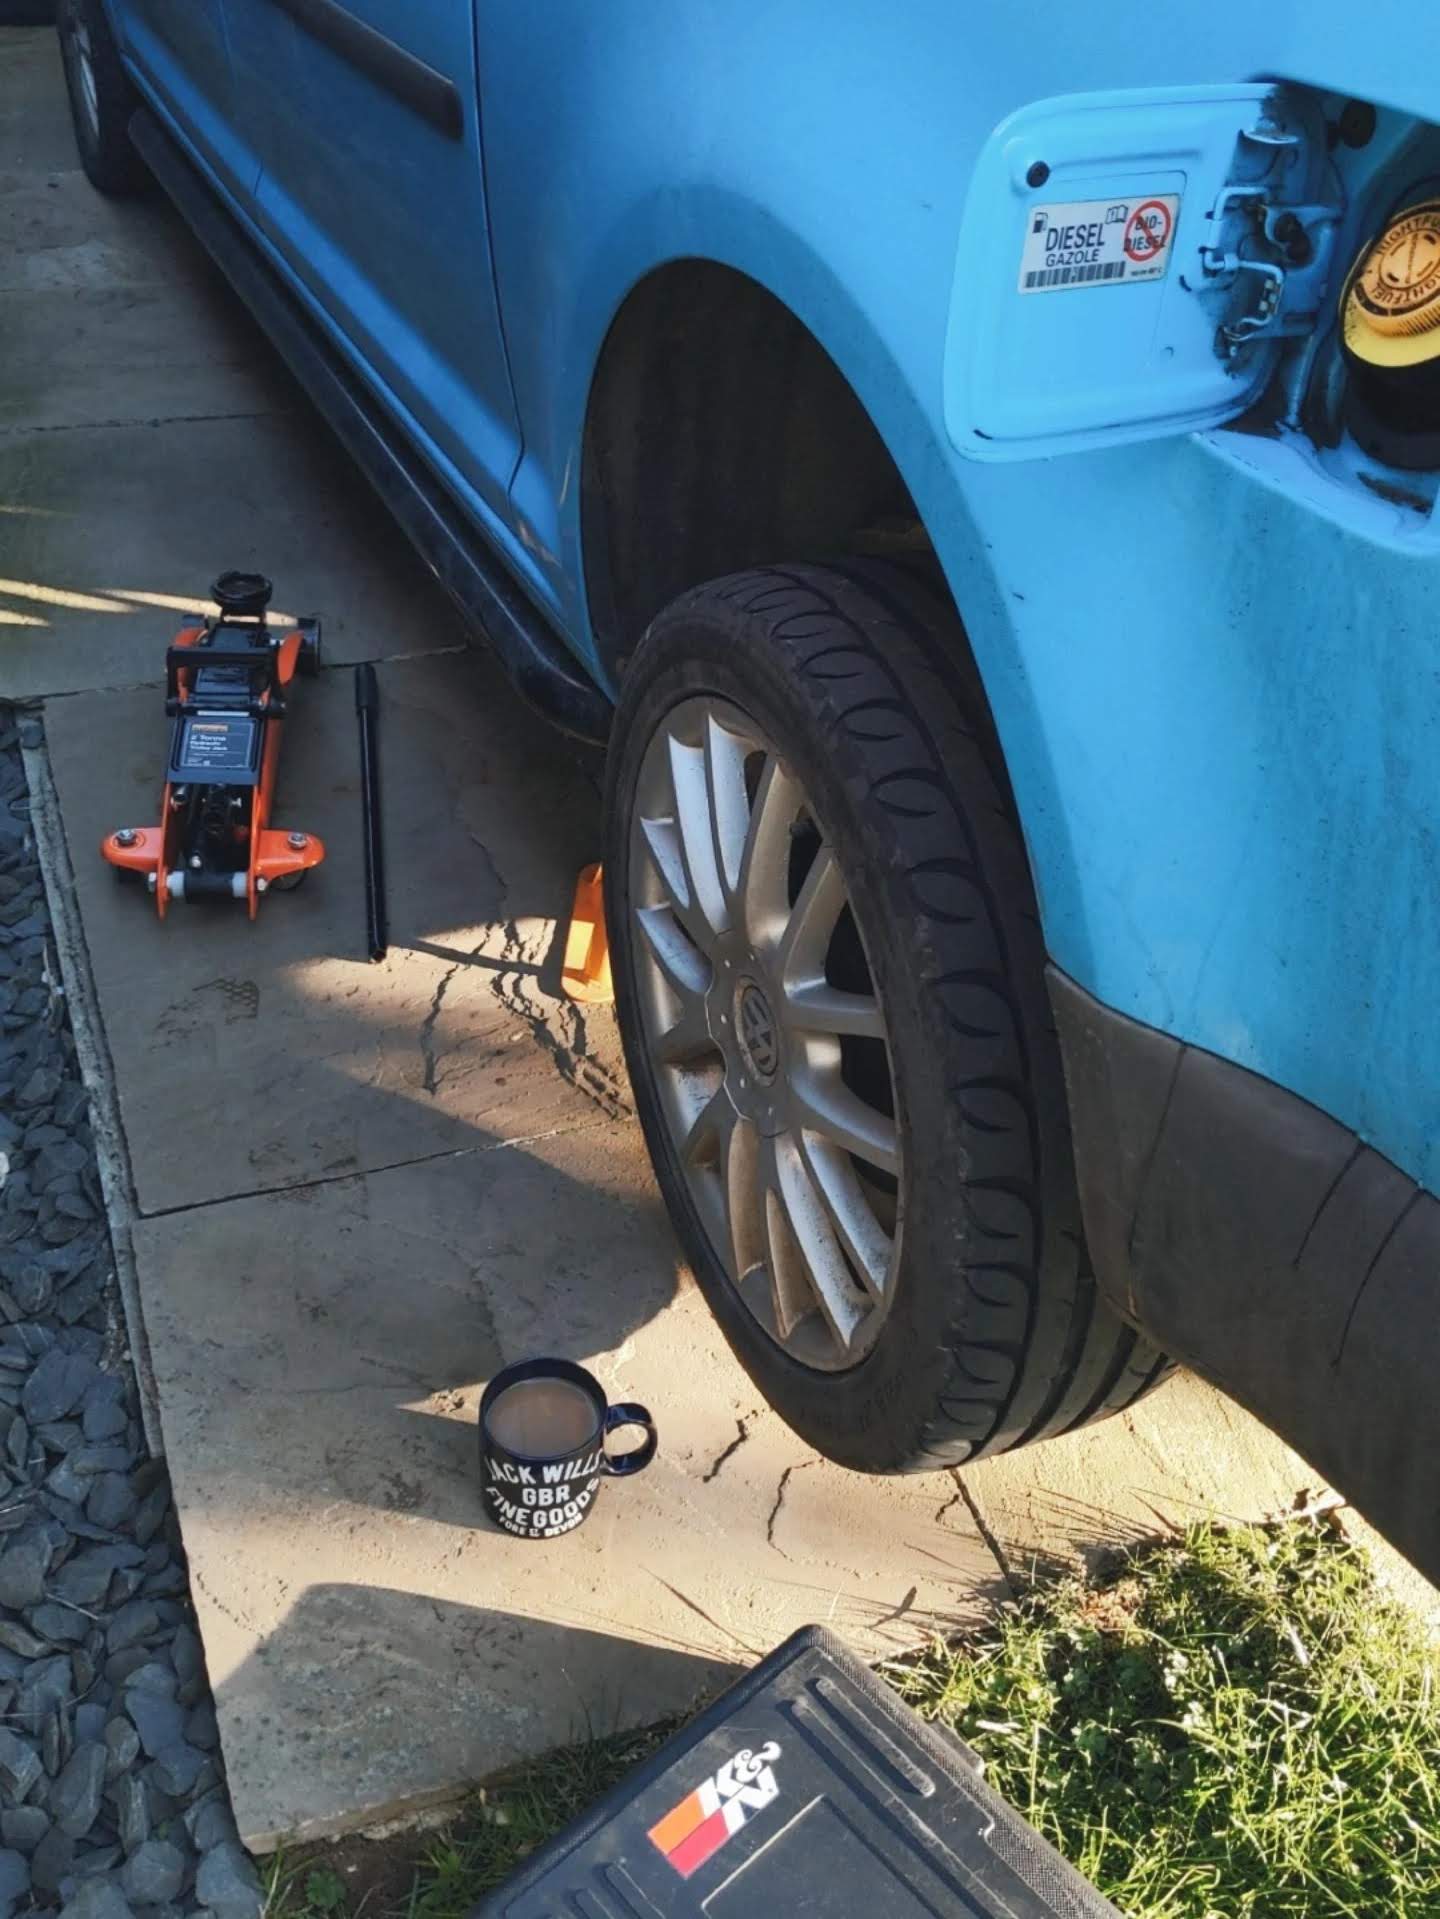
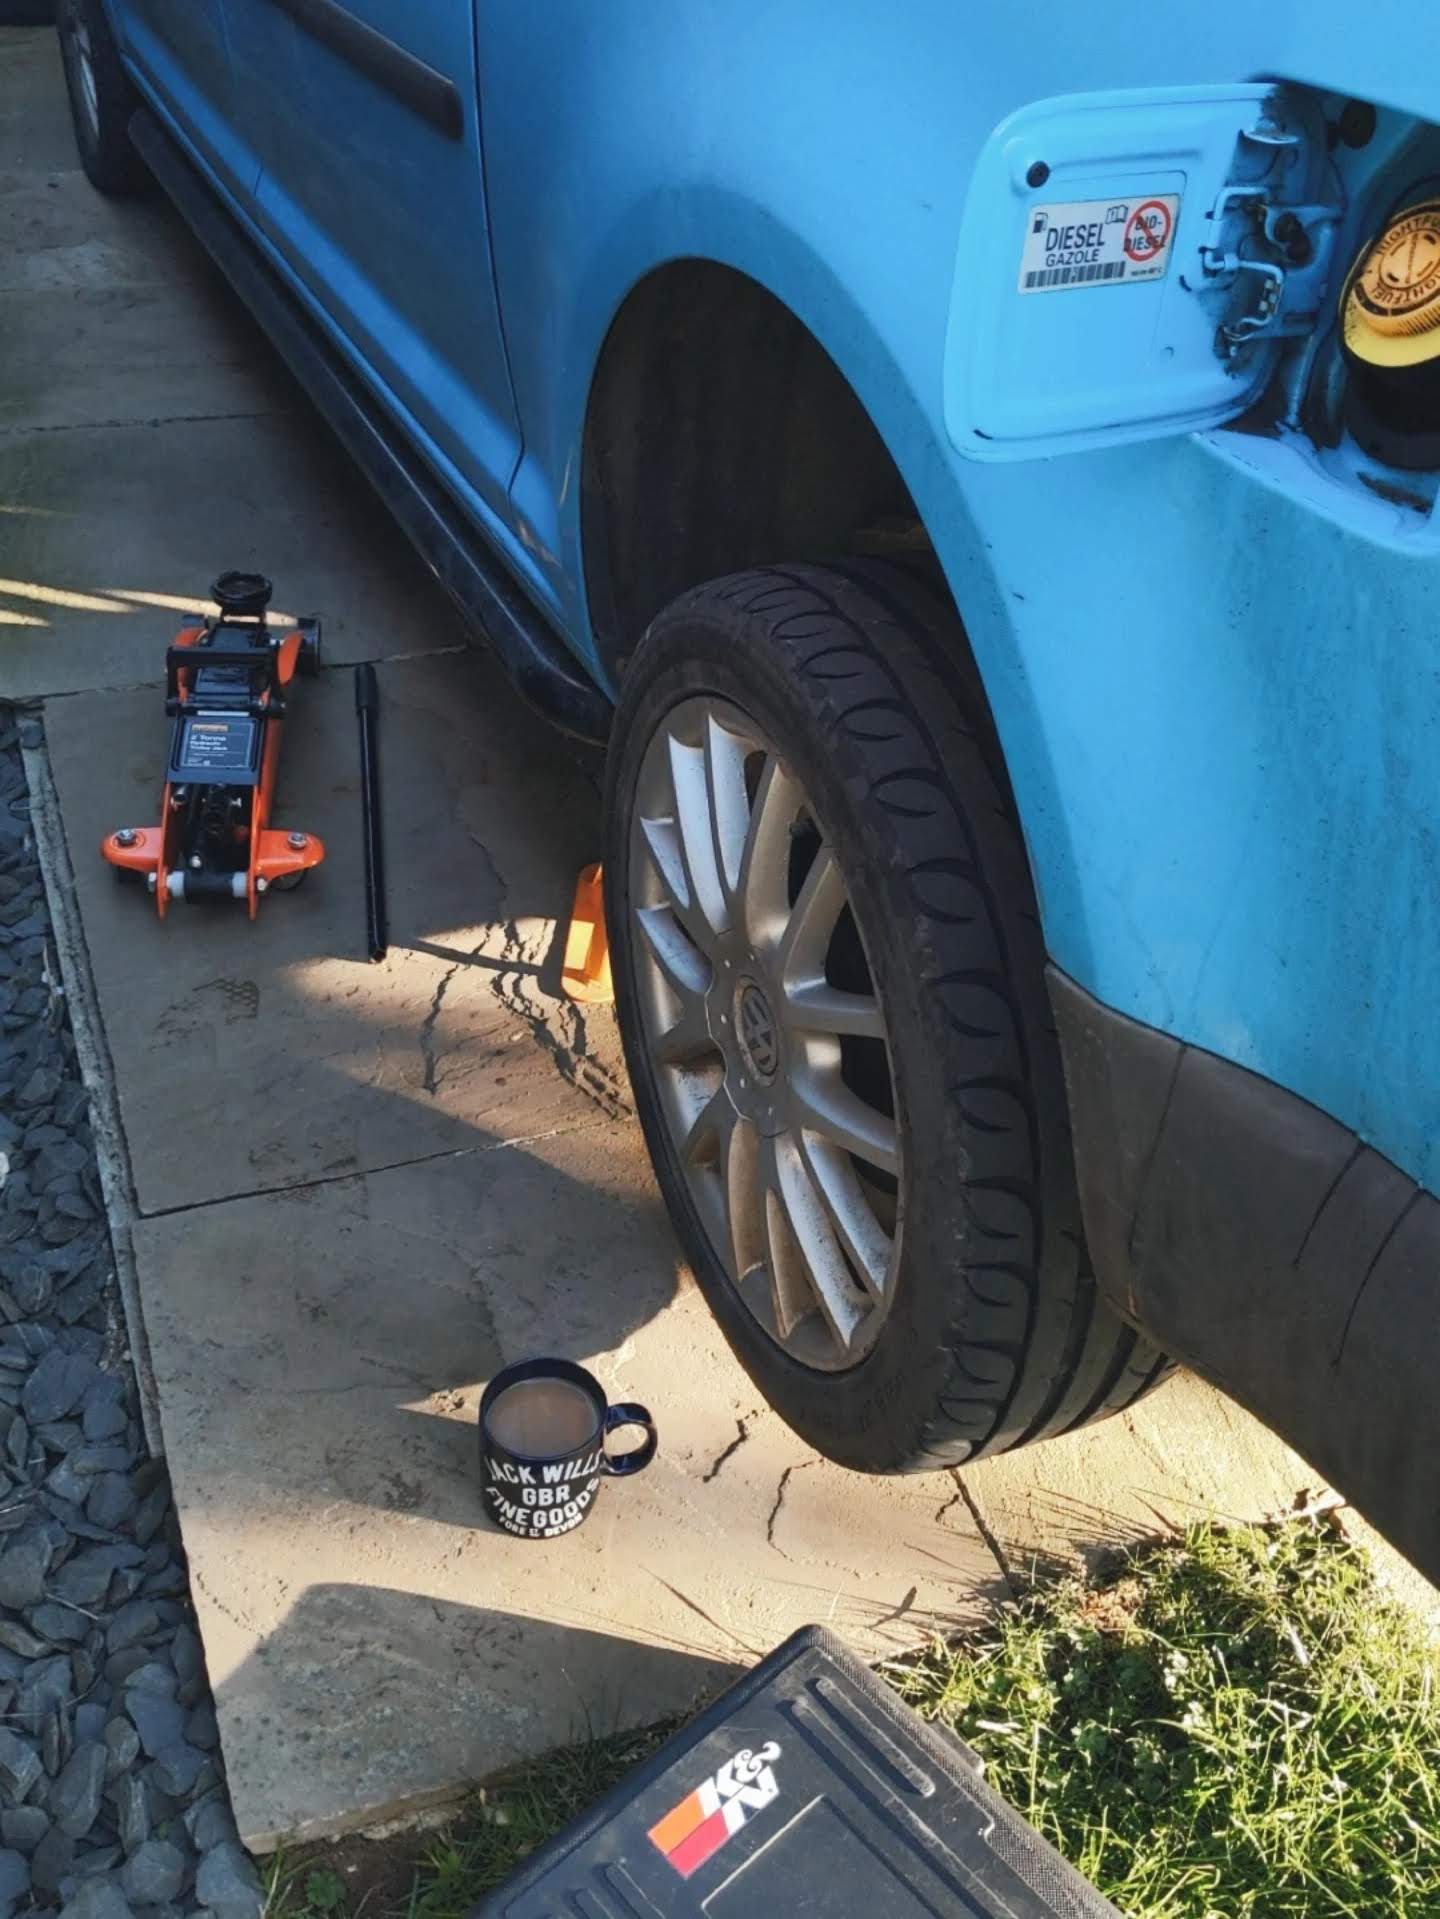
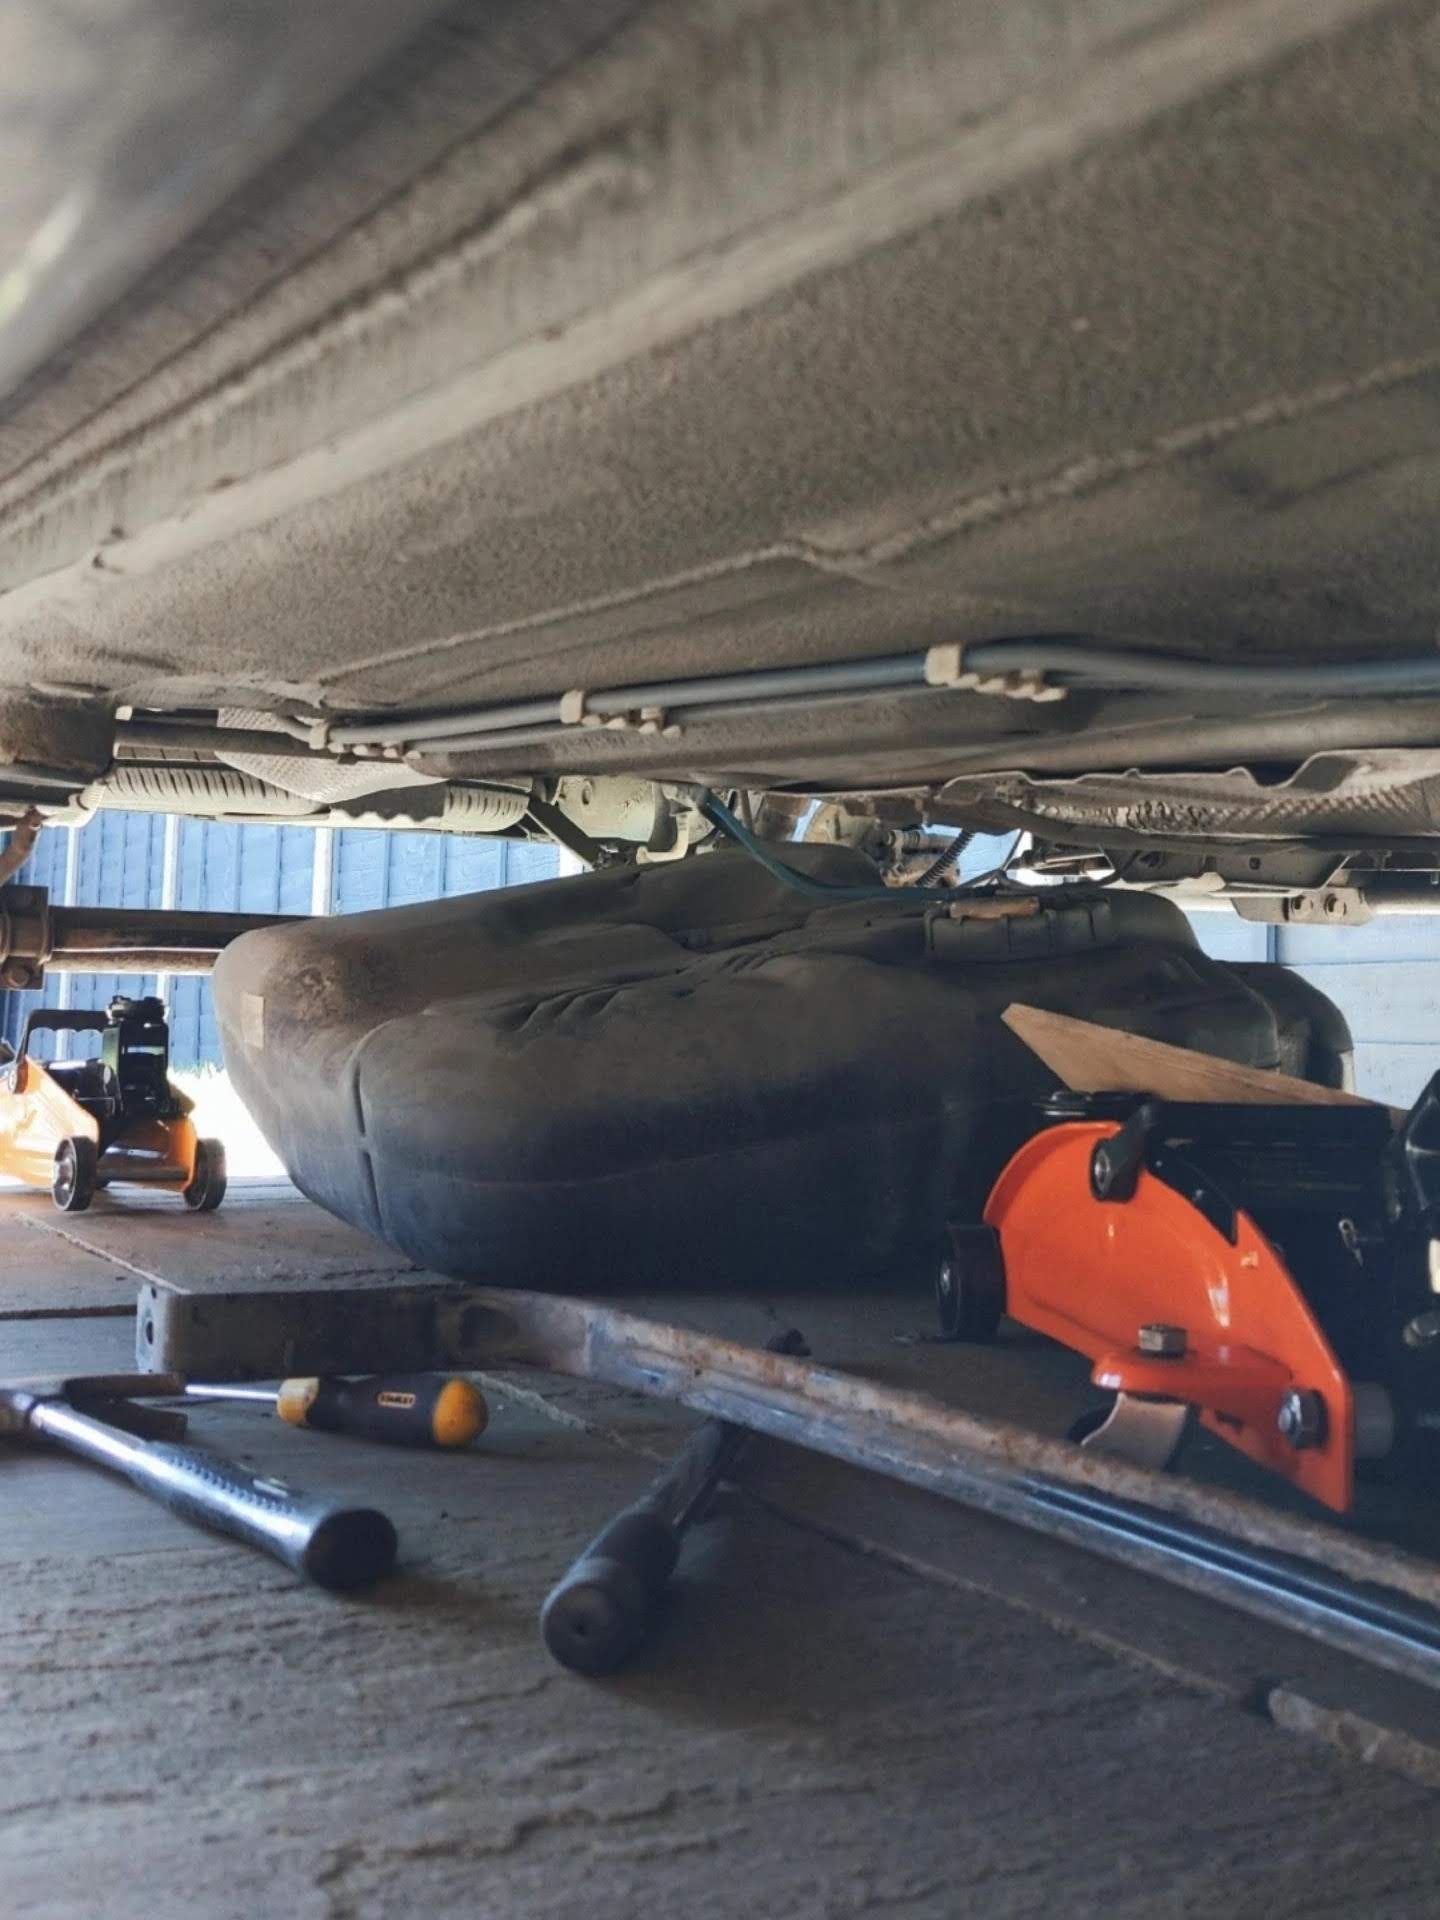
I ran the van until I had just under 1/4 of a tank left. Got it up on axel stands. Took the rear nearside wheel off. Removed the wheel arch liner and unbolted the fuel filler feed. Removed the tank straps and dropped the tank. Once the tank was on the ground and I had cleaned the dirt off it and removed the sender unit.
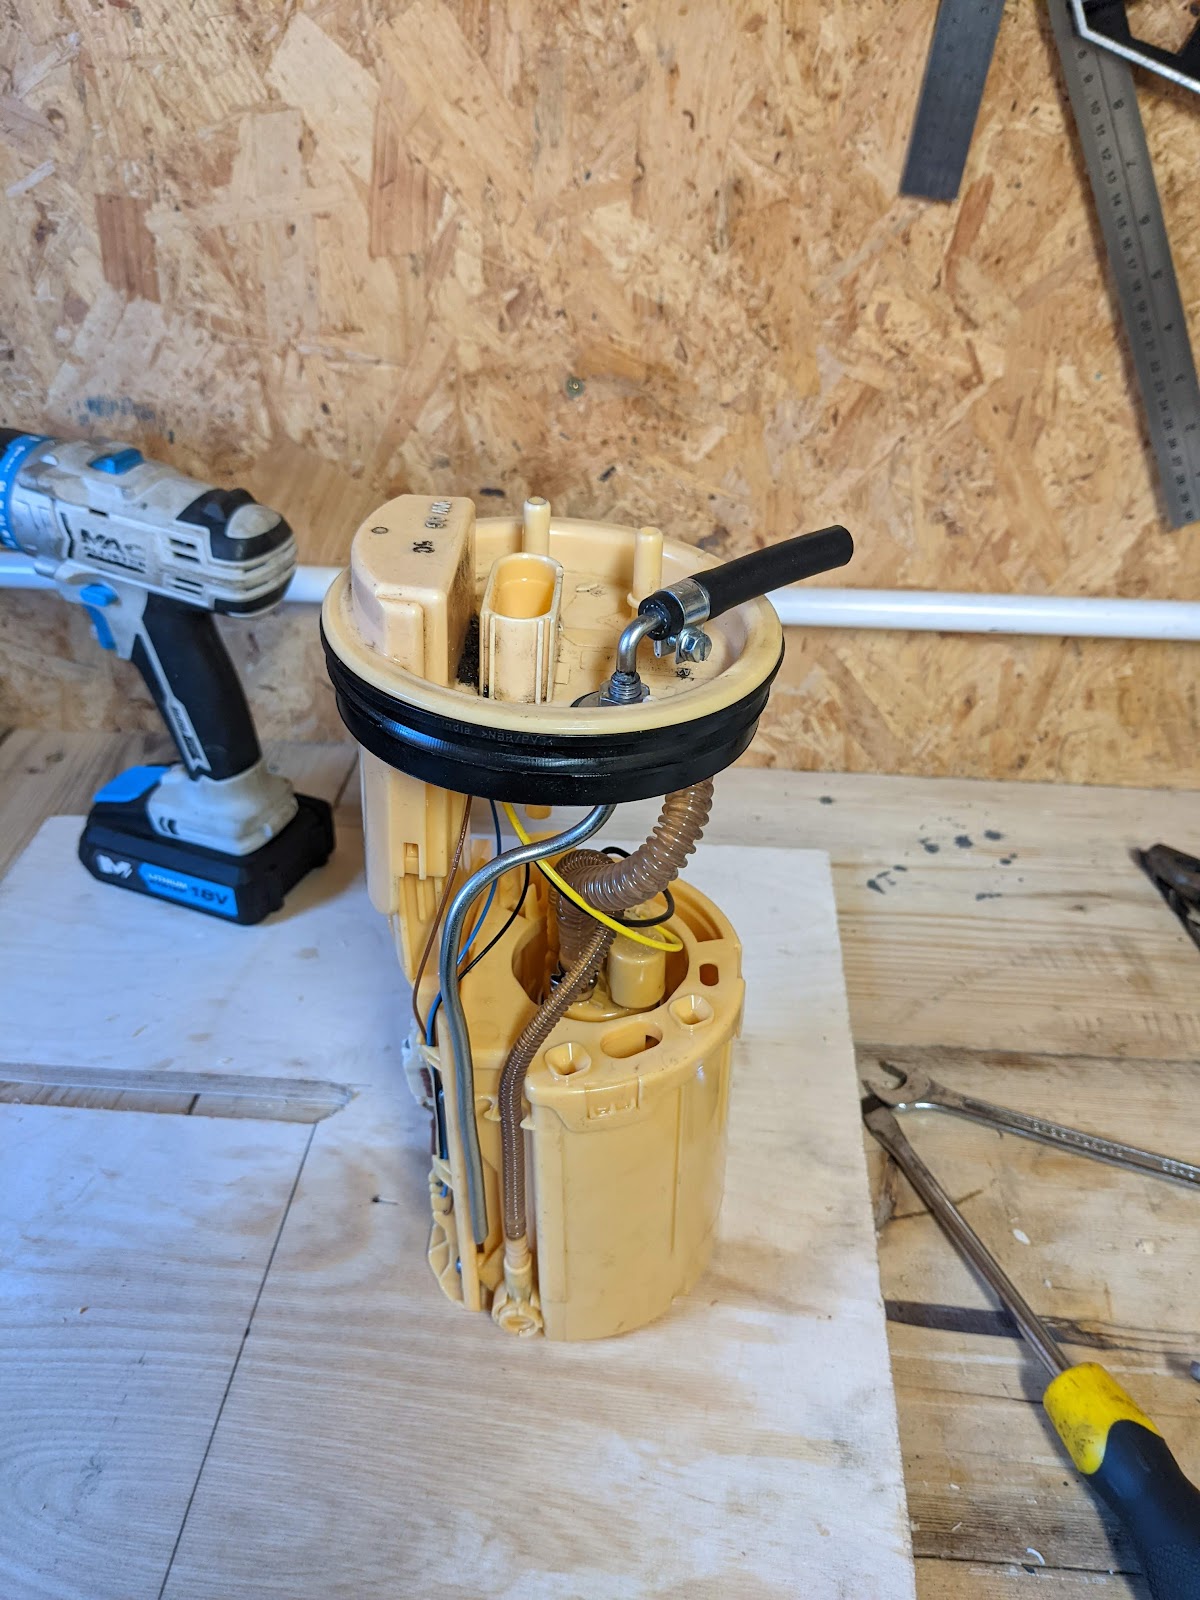
Once the sender unit was out, I drilled a hole through the top of it, and bolted on a metal fuel pick up pipe. Then I put the sender unit back into the tank, reconnected the lines and electrical cable, and bolted the tank back into place.
I made sure to make the metal pipe was shorter, so that the diesel heater takes fuel at a higher point and wouldn't be able to drain the tank fully. That way there will always be a bit of fuel left in the tank for the van.
Diesel Heater location
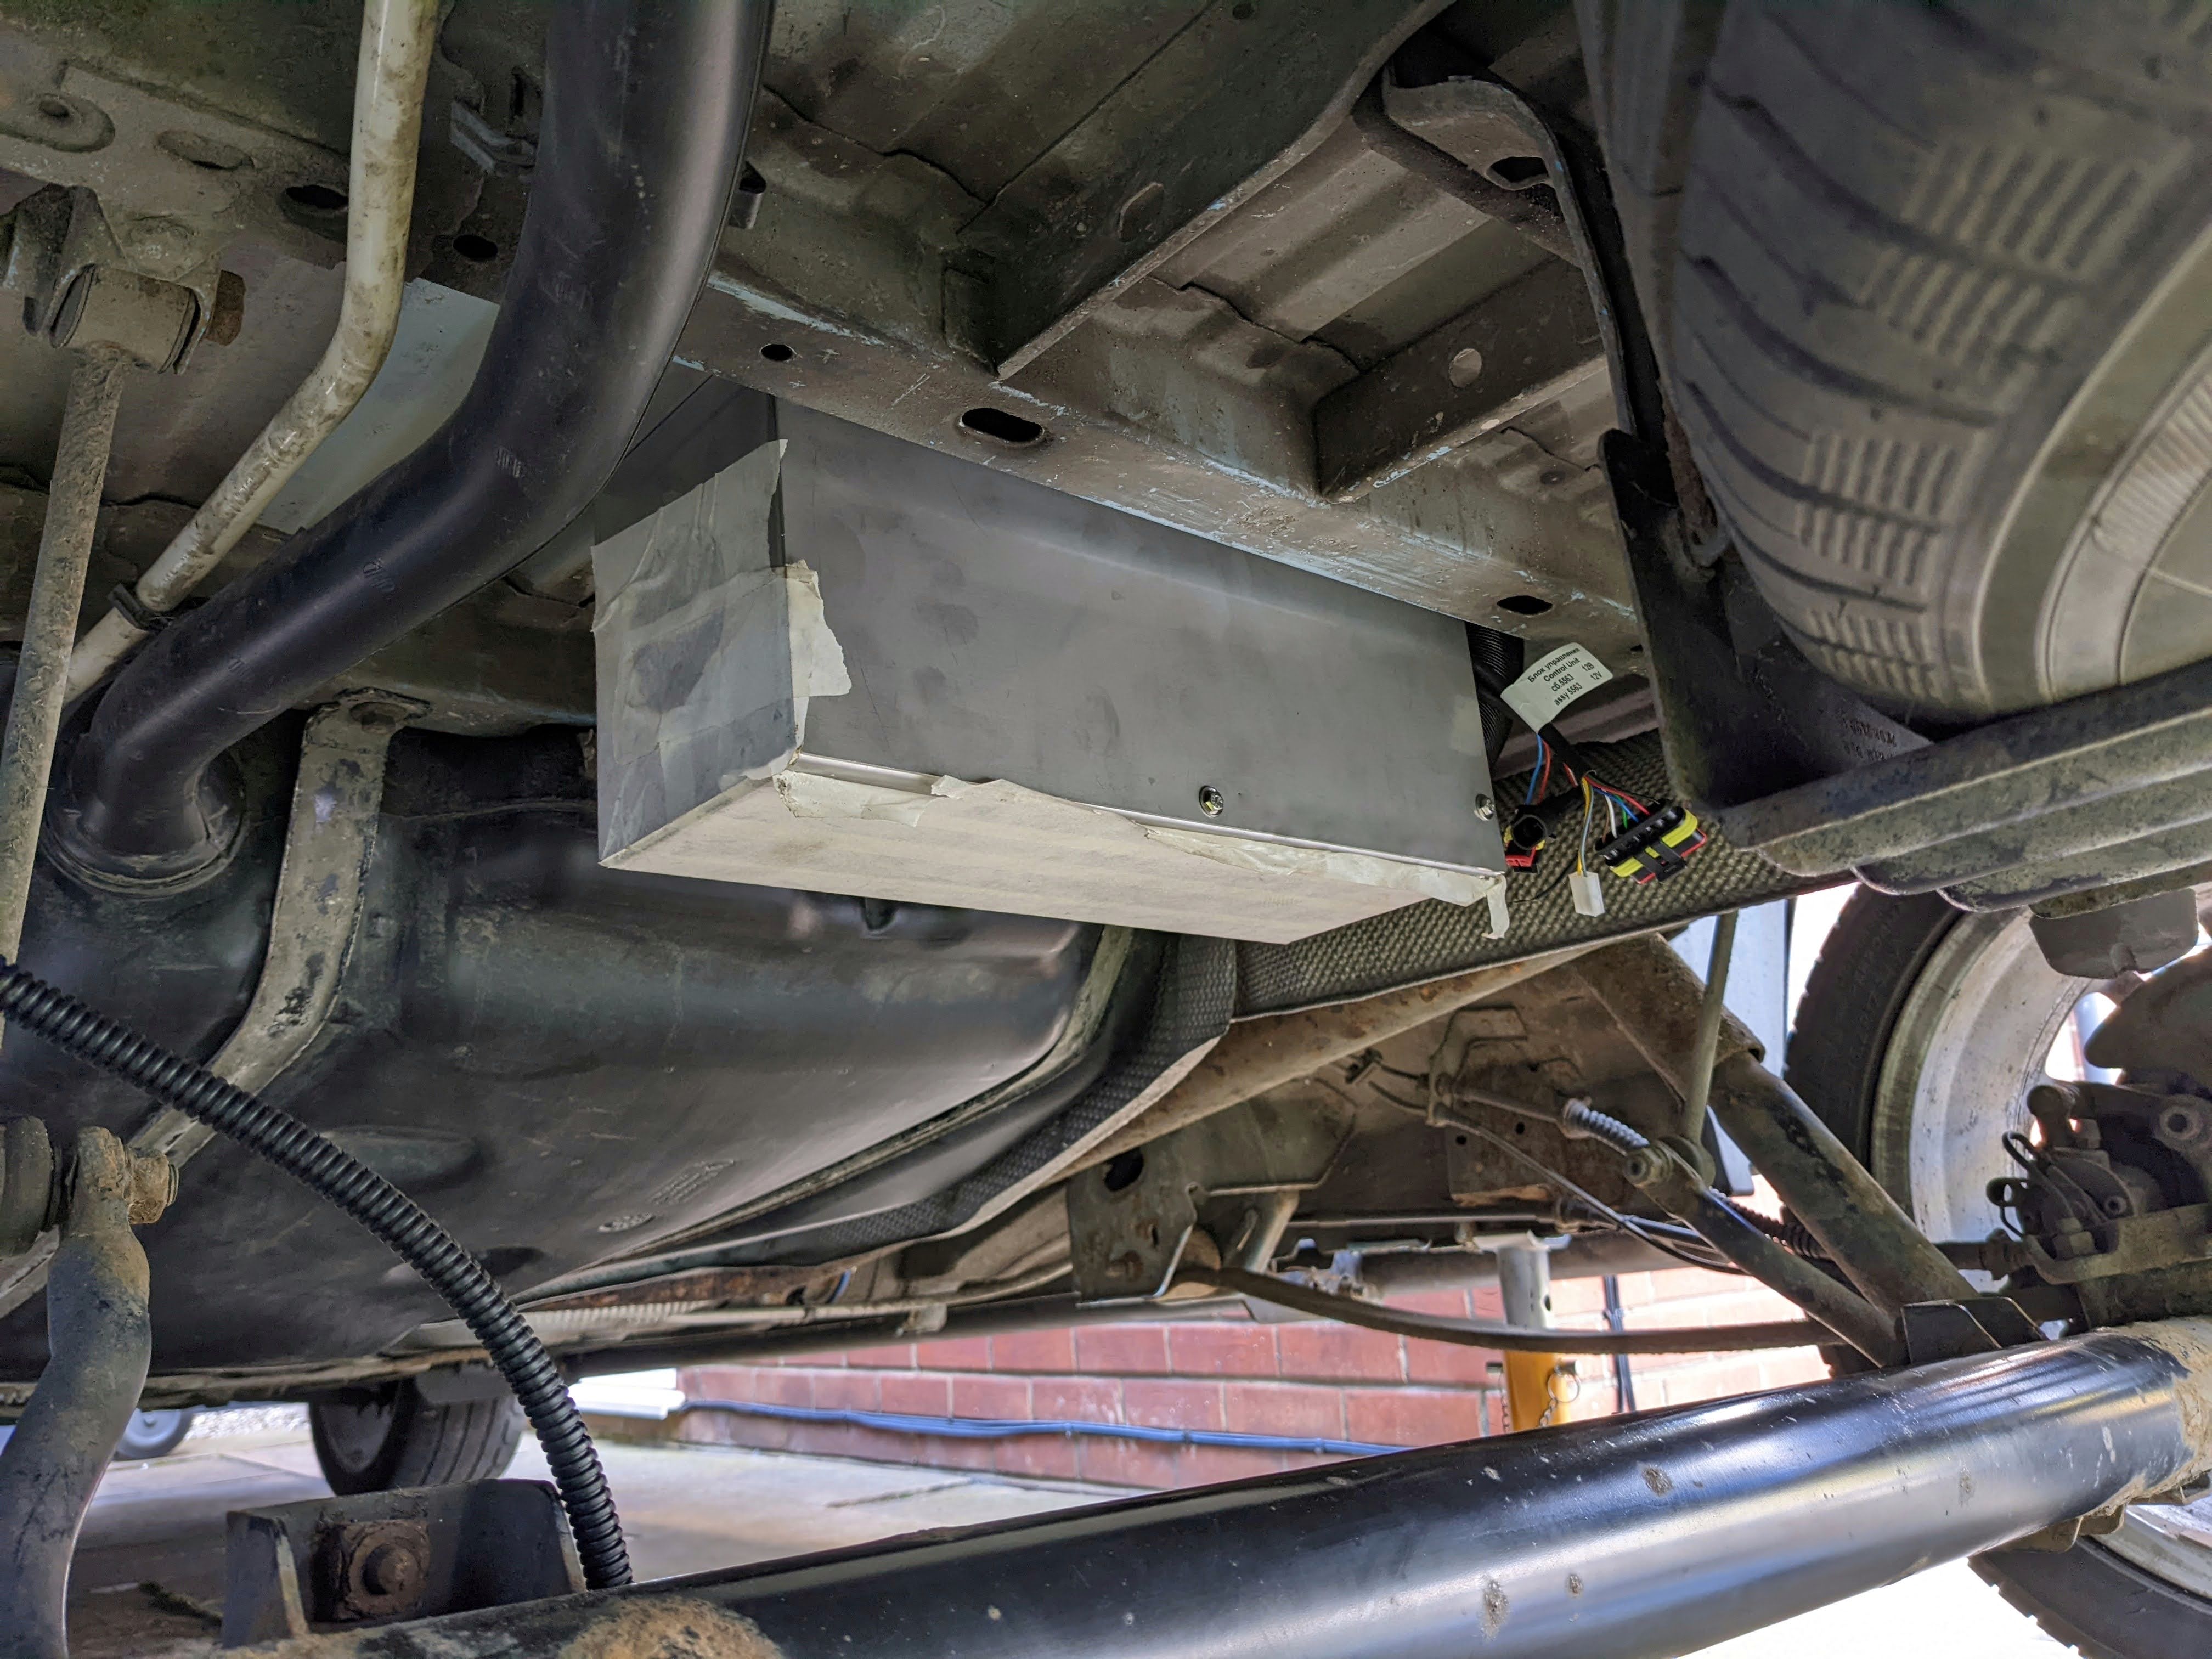
I chose to mount it in the space between my spare wheel and fuel tank. The heater is mounted in a stainless steel box, to protect it from elements. I used rivnuts (so I didn't have to rip up the interior flooring of the van) and used safety washers & Loctite on the fixing bolts. Basically this it to prevent the bolts vibrating loose.
Fuel pump
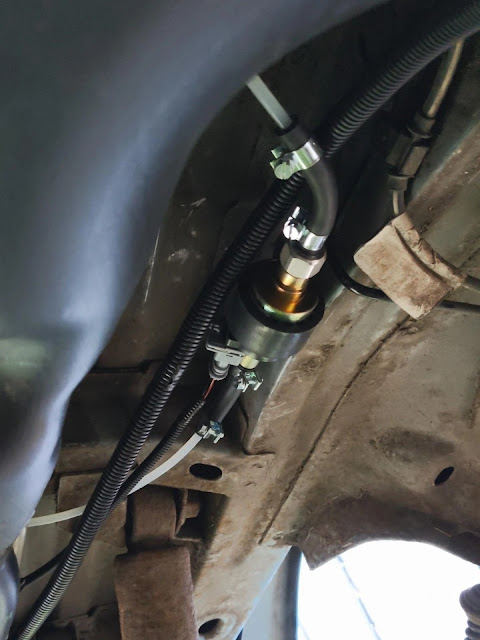
My kit came with a silent metering fuel pump. I installed it in the space along side the vans fuel tank (in front of the rear shock absorber) The fuel pump has to be installed pointing slightly upwards. However before you fix it in place, you must make sure that it's properly bled - otherwise it'll be just as loud as a standard fuel pump.
Cabin Air inlet and outlet
I was quite limited in locations to choose from on where to draw cabin air in, and where to blow it out. This was mainly because I'd already built the interior of the van, so I had to try to work around that.
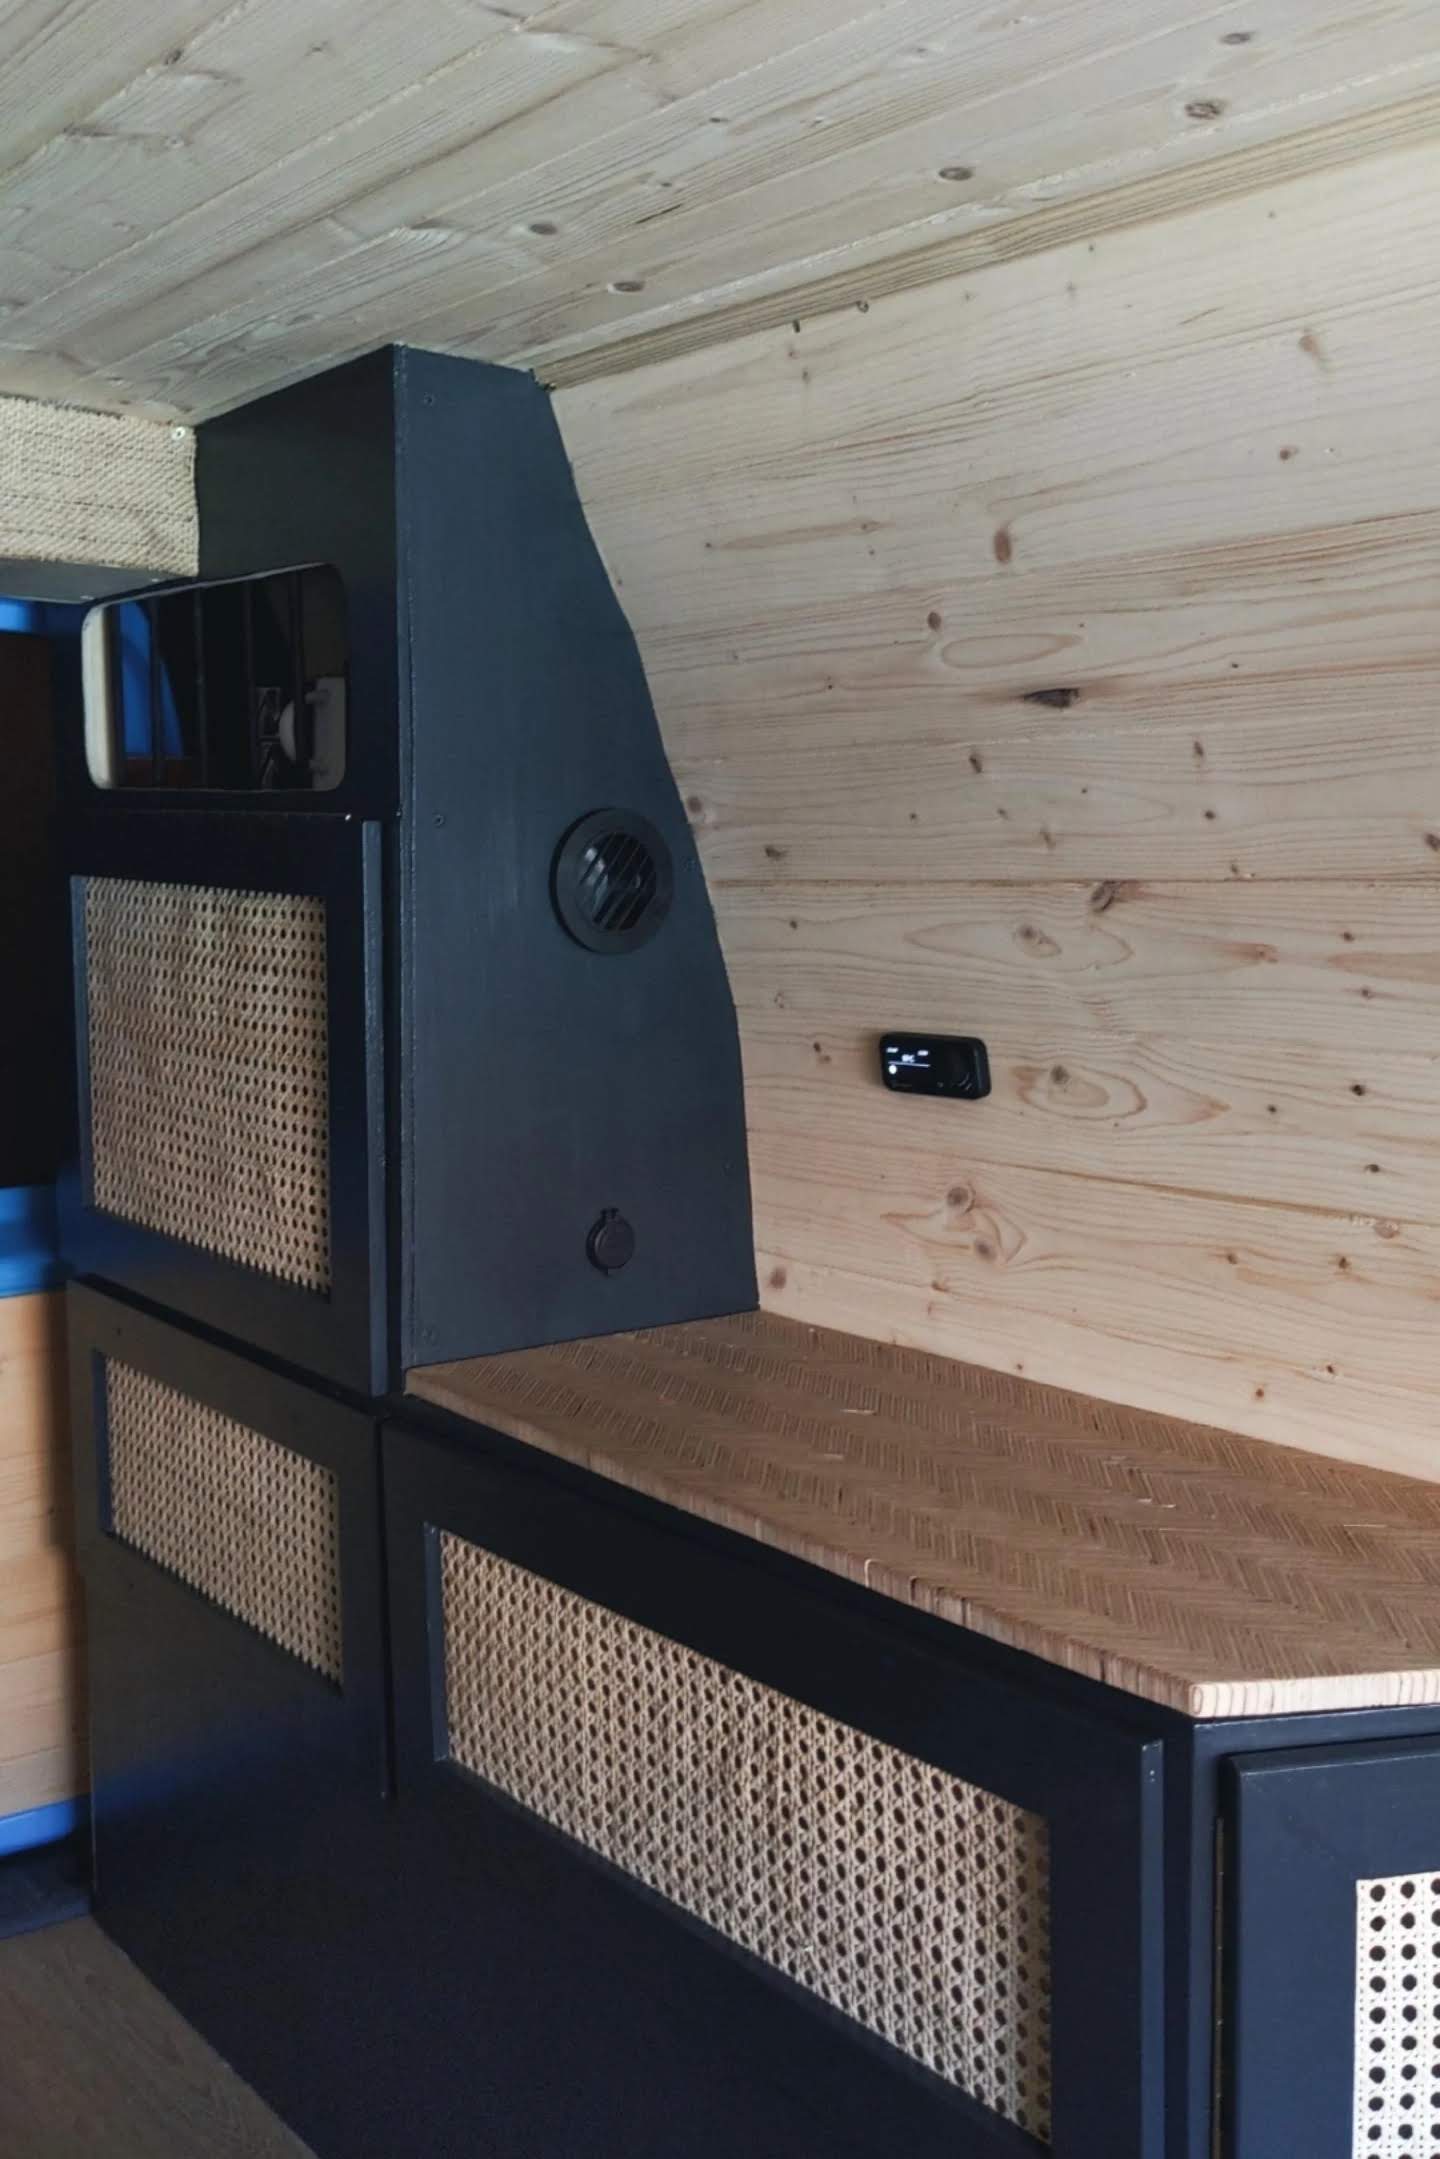
I chose to have the hot air outlet to blow out my side cupboard, for maximum spread around the van (even when the beds extended)
Where the hot air duct goes through the wheel arch, I used a ducting jointing piece. This is so that if the under the van section of ducting gets damaged, I don't have to replace the whole thing, and only the section of ducting that actually needs replacing. The ducting joining piece has a small lip on it, so I cut out a bit of steel that I had laying around, so I could hold the ducting piece in my wheel arch.
 |
 |
 |
 |
 |
 |
The other side was fairly simple, I just went straight through the floor. This is where cabin air is drawn in. Its important any bare metal is primed and painted to protect if from rusting. It's also import to seal any gaps to prevent water ingress into your van.
Exhaust
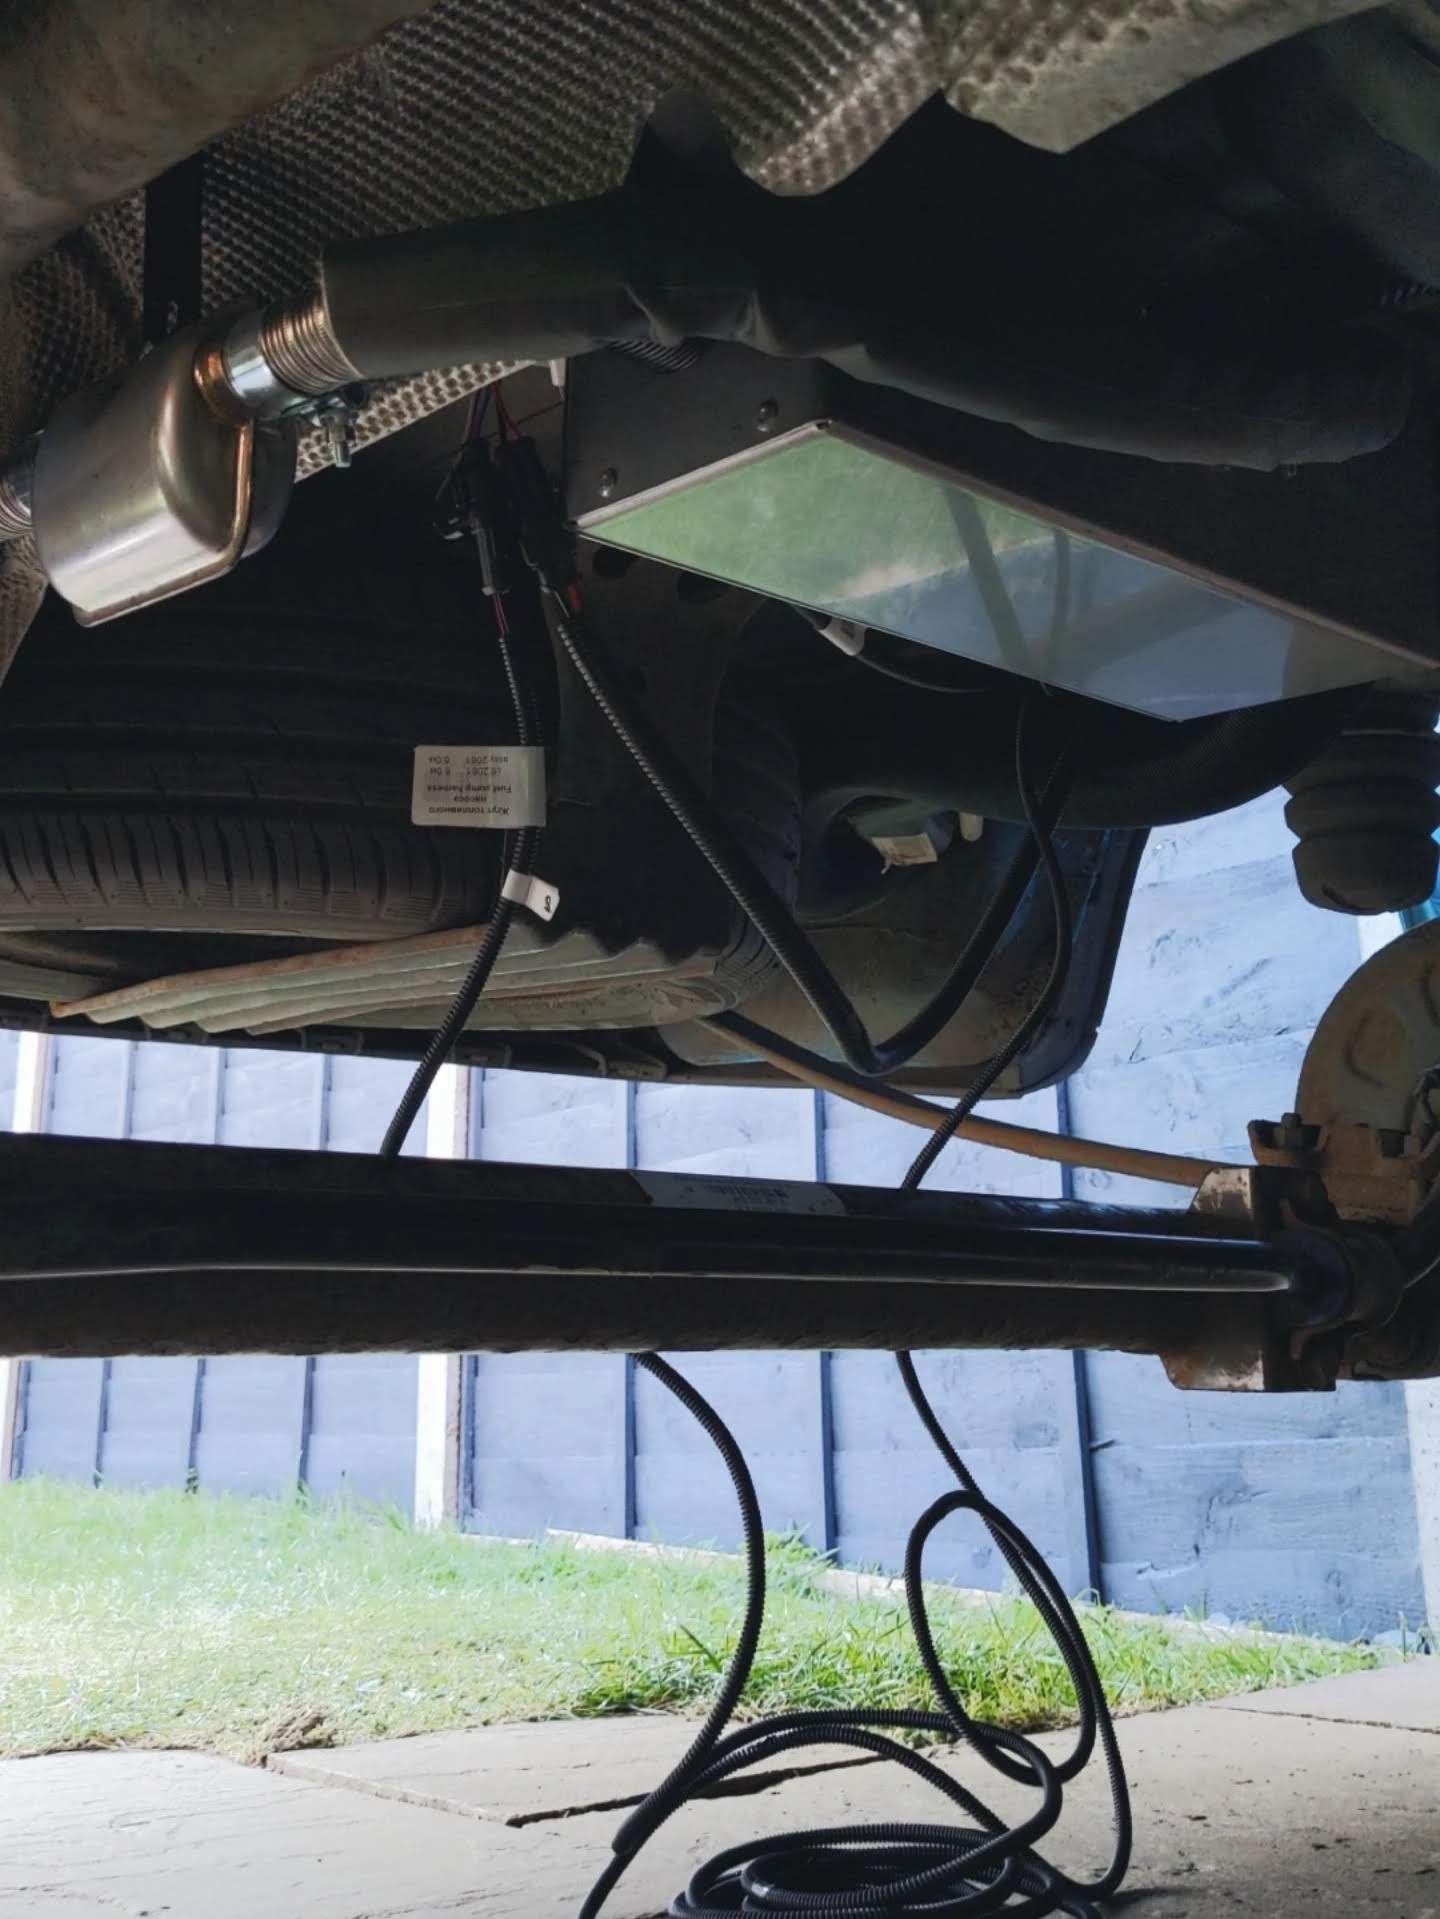
I chose to route the exhaust the same way as the van exhaust. I attached the silencer to a right angled bracket, going through the heatshield and bolted to the beam above it. I then trimmed an arch in the heatshield and downward sloped the exhaust pipe to the silencer. I fitted some exhaust insulation to the pipe - to protect the fuel tank from the heat.
 |
 |
 |
 |
Controller
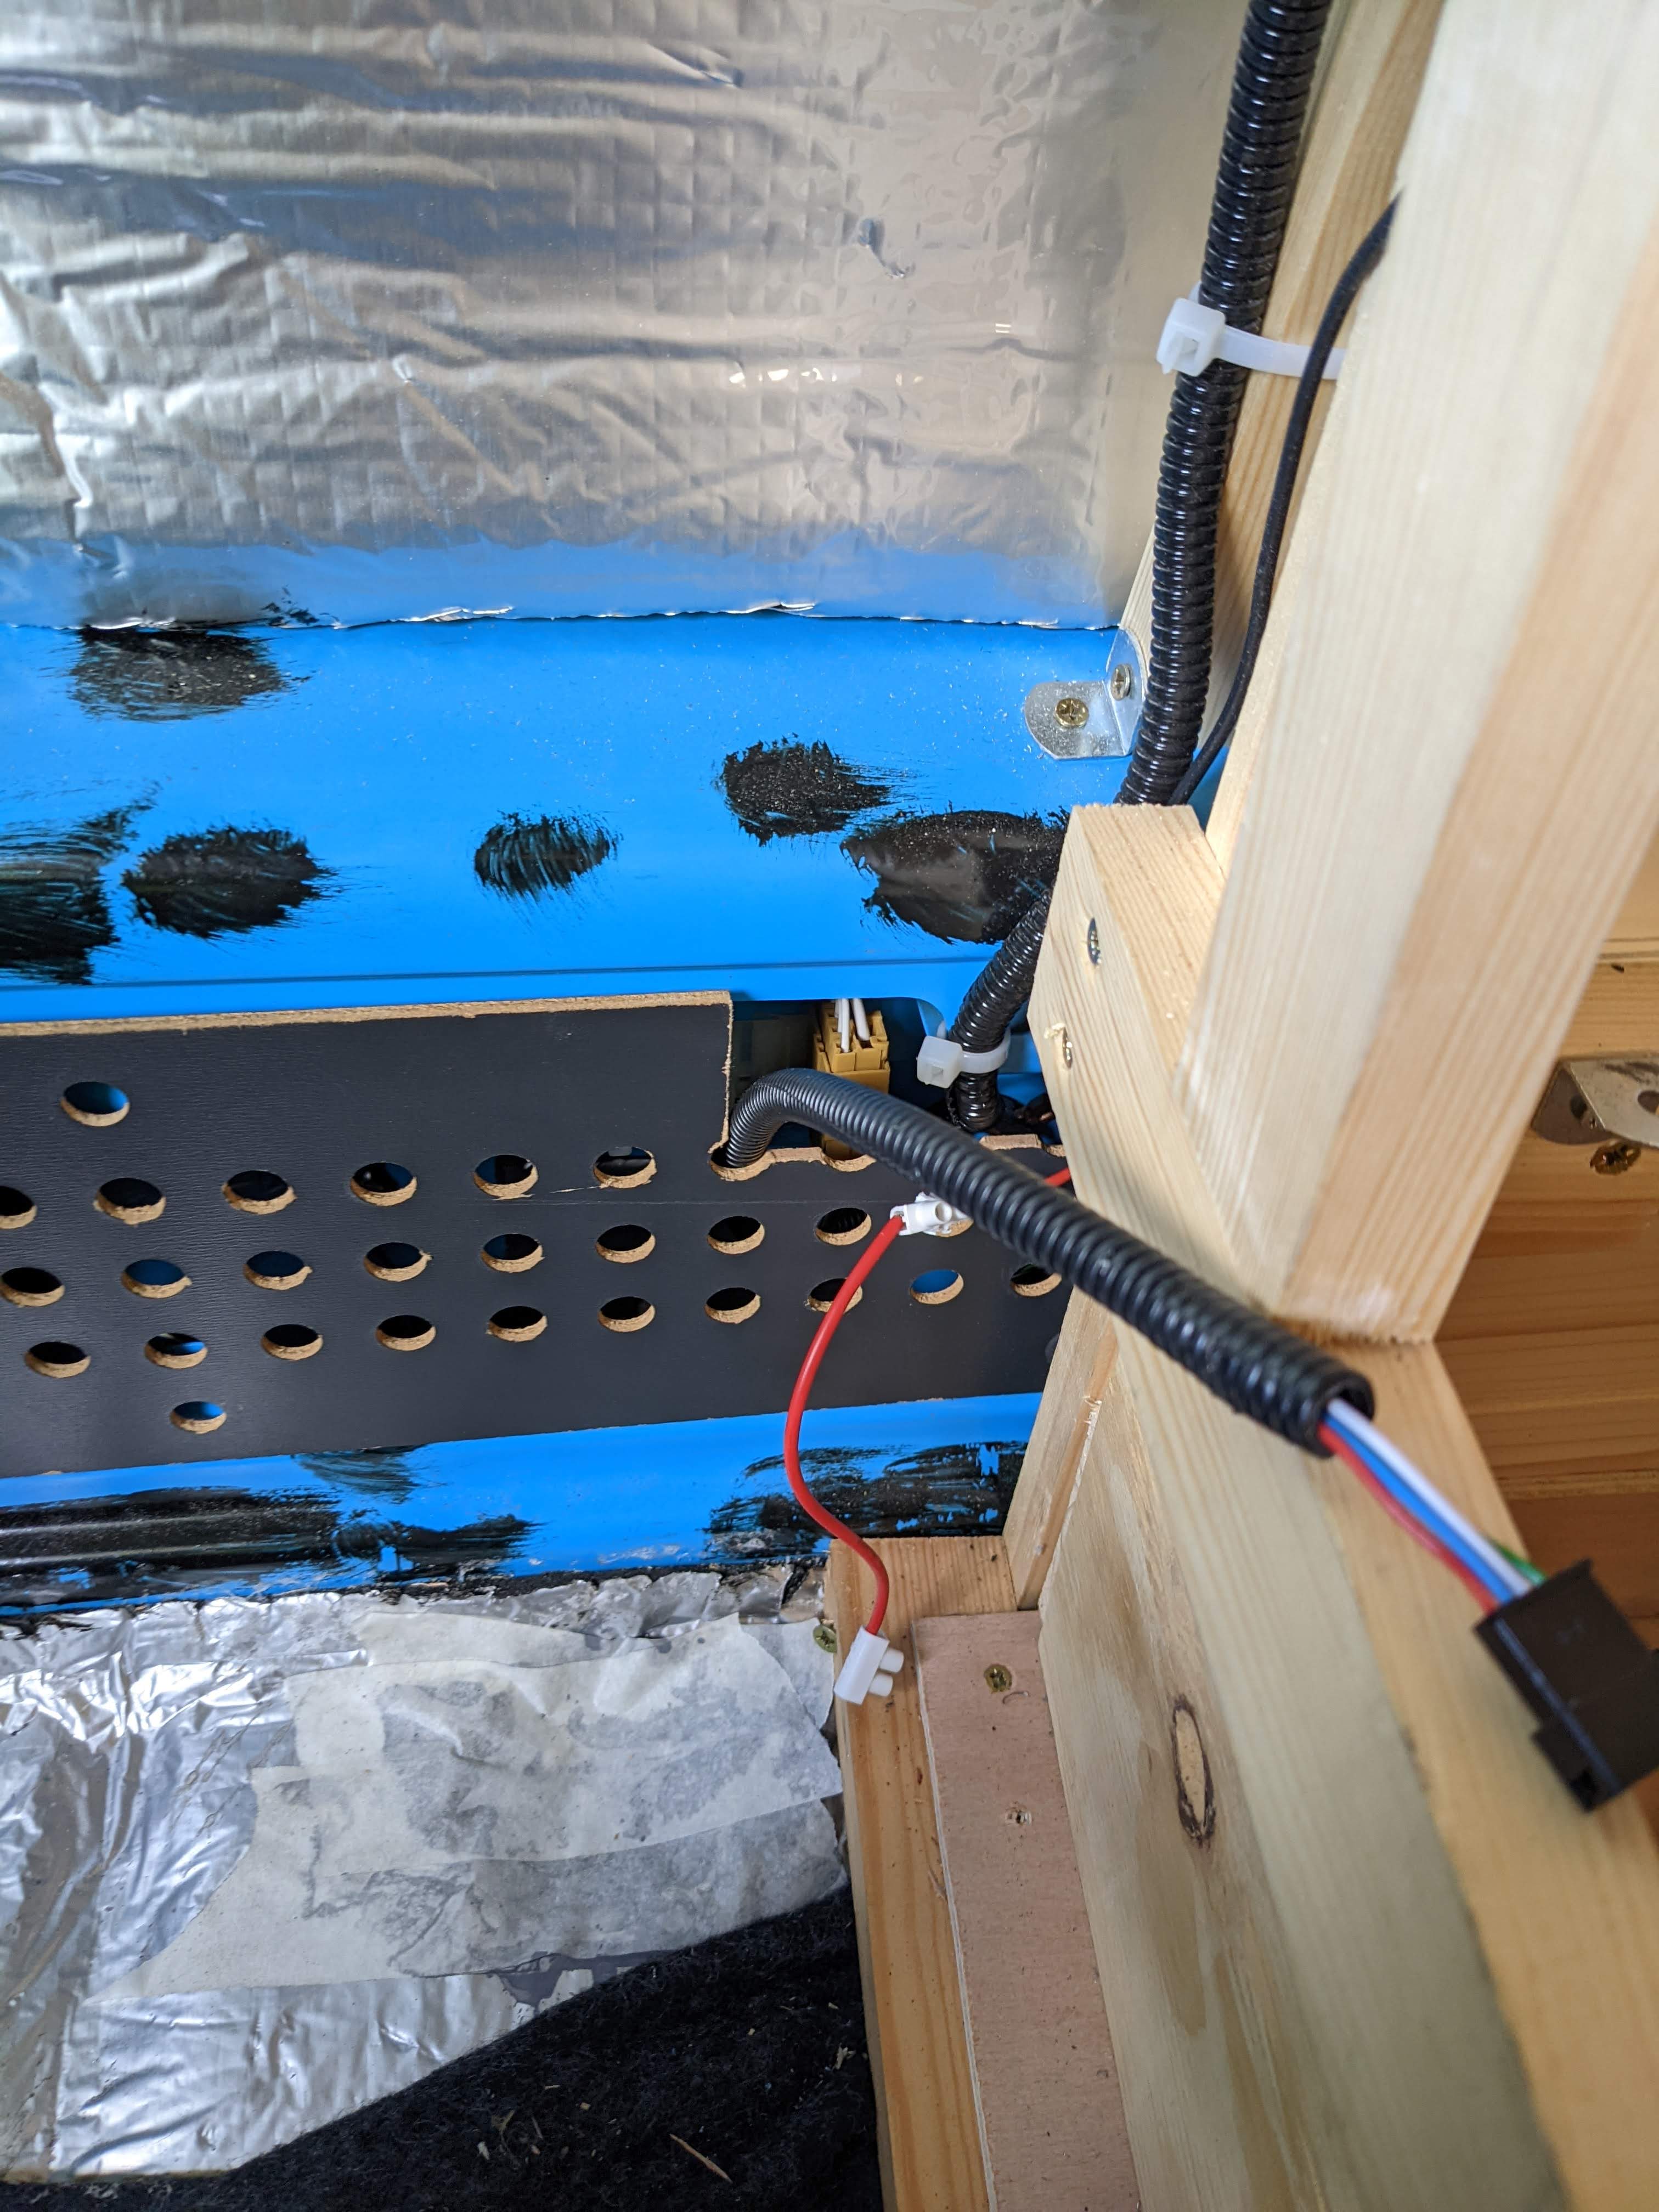
I routed the cable up through a grommet in the nearside rear wheel arch. This brings you out to the panel inside where the cable looms are for the rear lights and parking sensors etc.
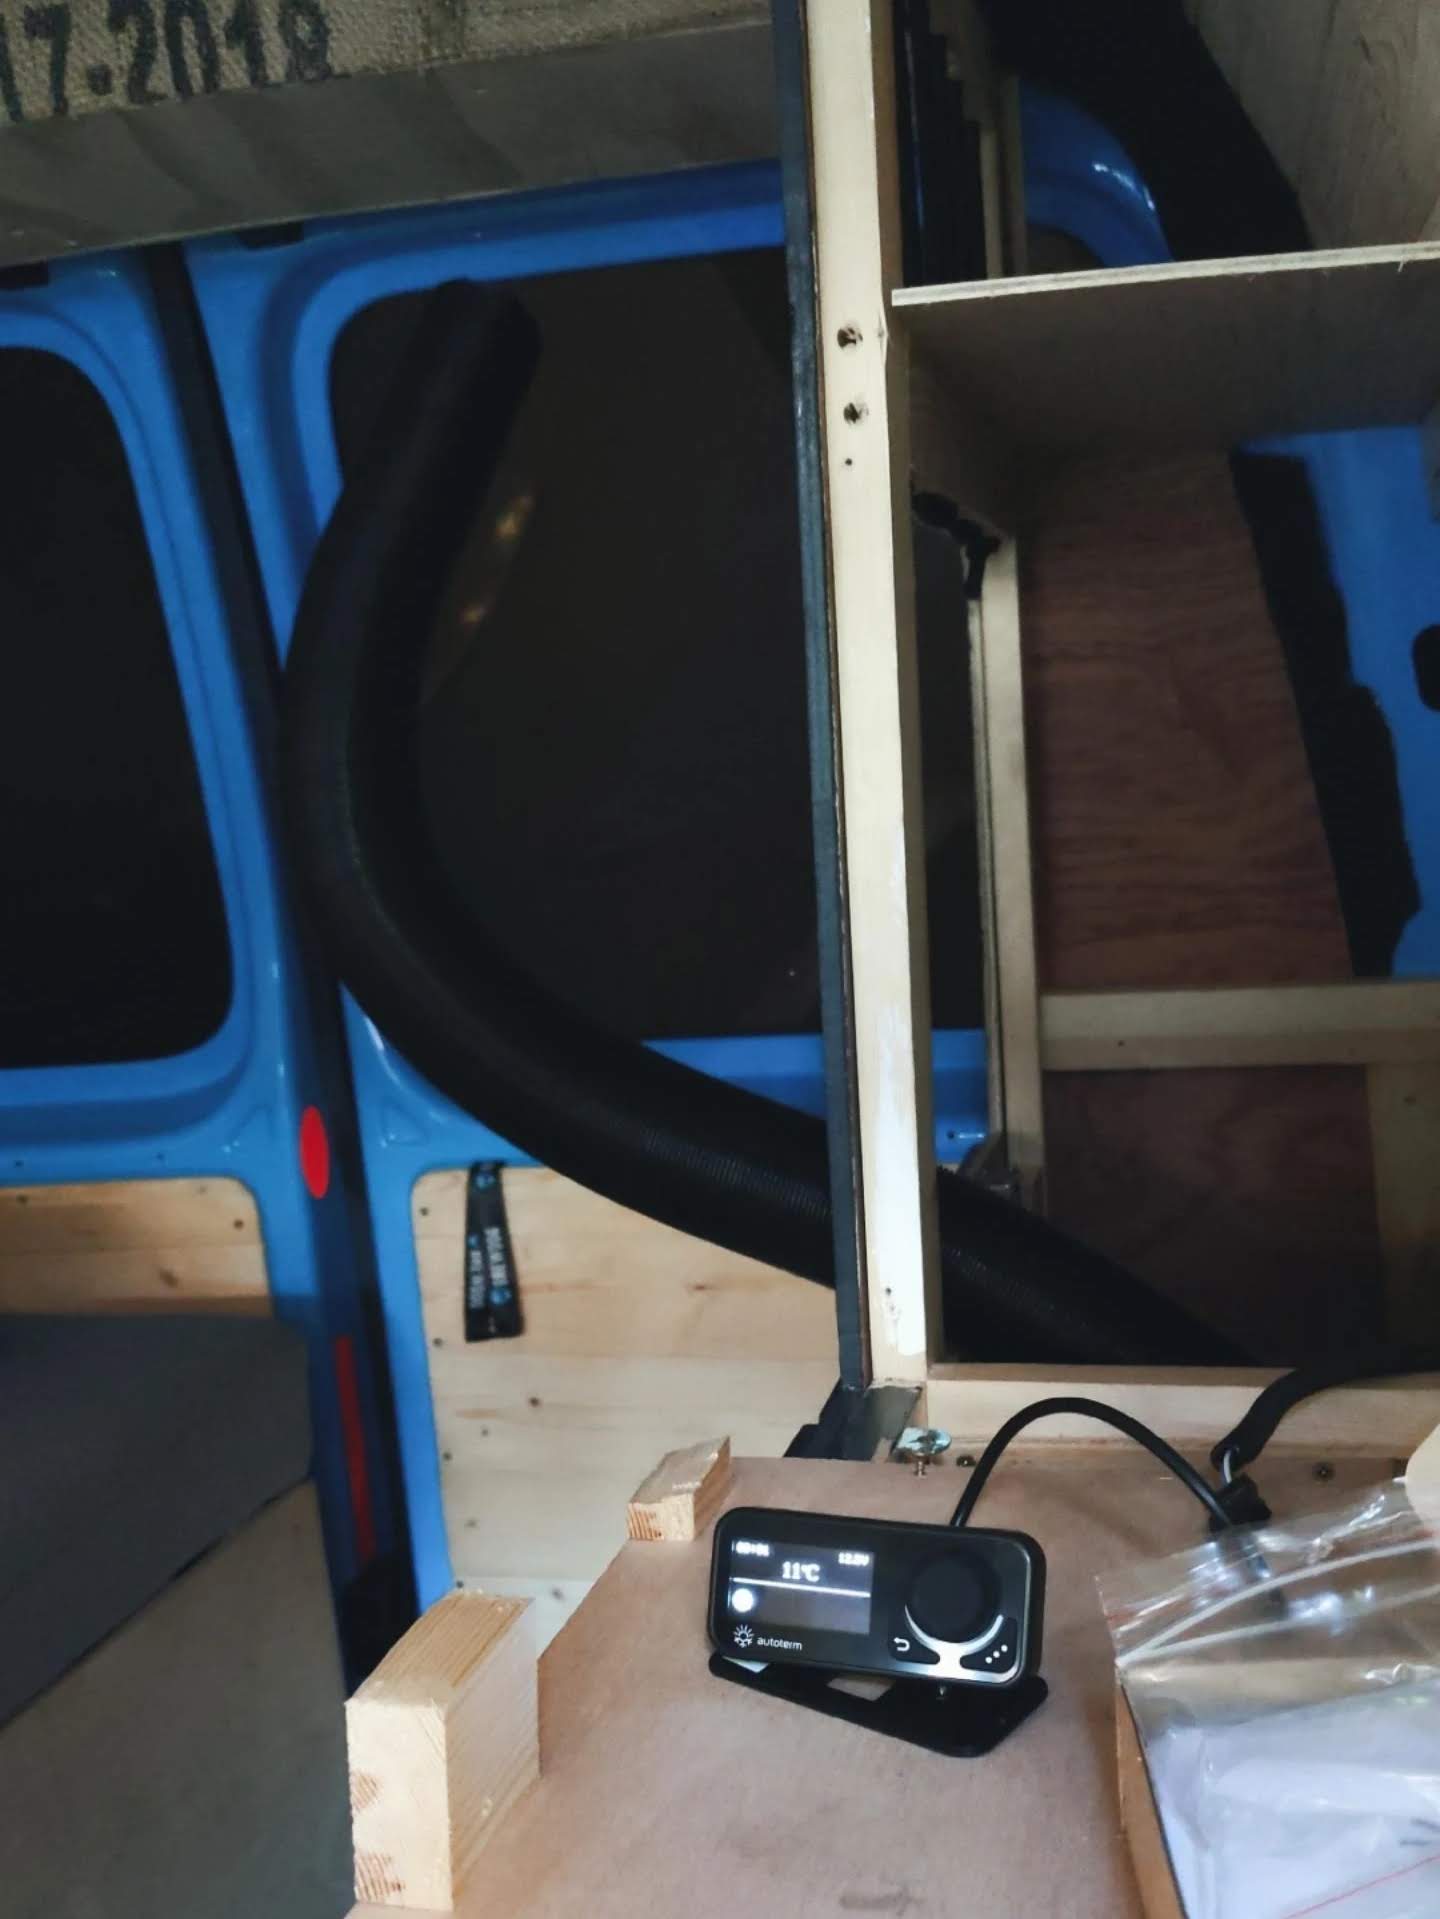
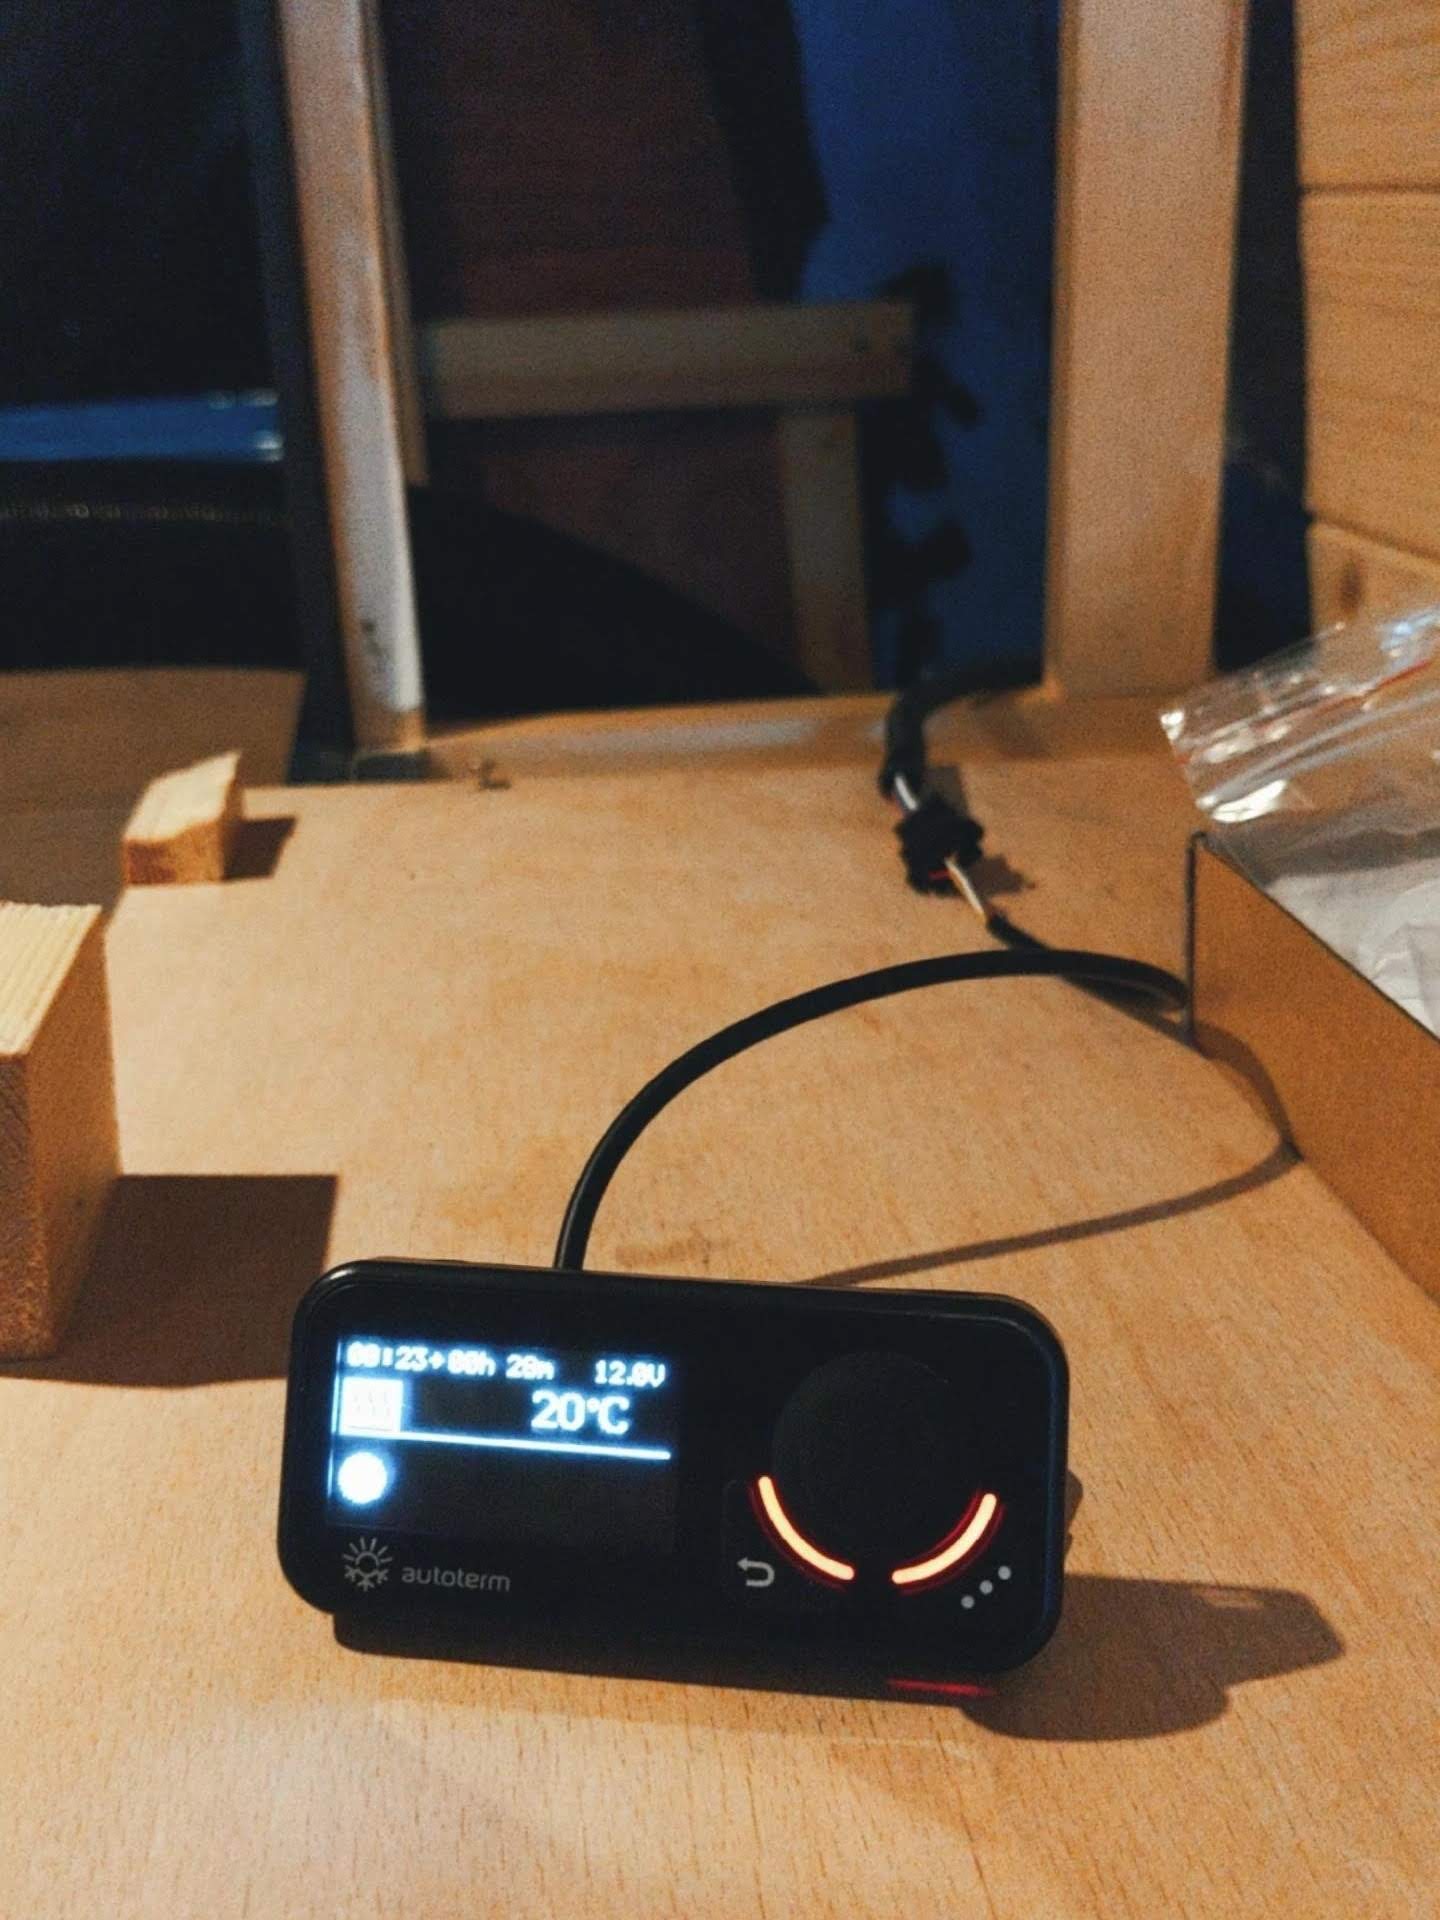
The controller is really good. You can set the temperature you'd like it to be (thermostat mode) and it'll regulate the temperature itself. Or you can use it on power mode and set it on a timer. There's even an option to set the heater to turn itself off if your leisure battery voltage gets below a certain amount. There's also fan mode, which its where it'll use the fan only and circulate air without using the heater part.
 |
 |
 |
 |
12v power
This was simple. My leisure battery is behind the passenger seat, so I went out a grommet in the rear footwell (where the handbrake cable comes out of) and ran it underneath the van to the heater. The excess cable I just simply tucked inside near the leisure battery.
. . . . . . . . . . . . . . .
The finished install
I am extremely impressed with the heater. The 2kw version is plenty enough, especially for a micro camper. It was well worth the upgrade to the comfort controller, having the ability to set timers and the temperature, as well as the auto shut off when the voltage gets too low, is so handy. The fuel pump is silent and you cant hear it in the van at all. To be honest you cant hear it outside the van either. When the heater is running, it's quite quiet outside the van, and can only really hear it as you start walking near the van. Inside the only noise you get is the sound of the fan blowing, which is to be expected.


