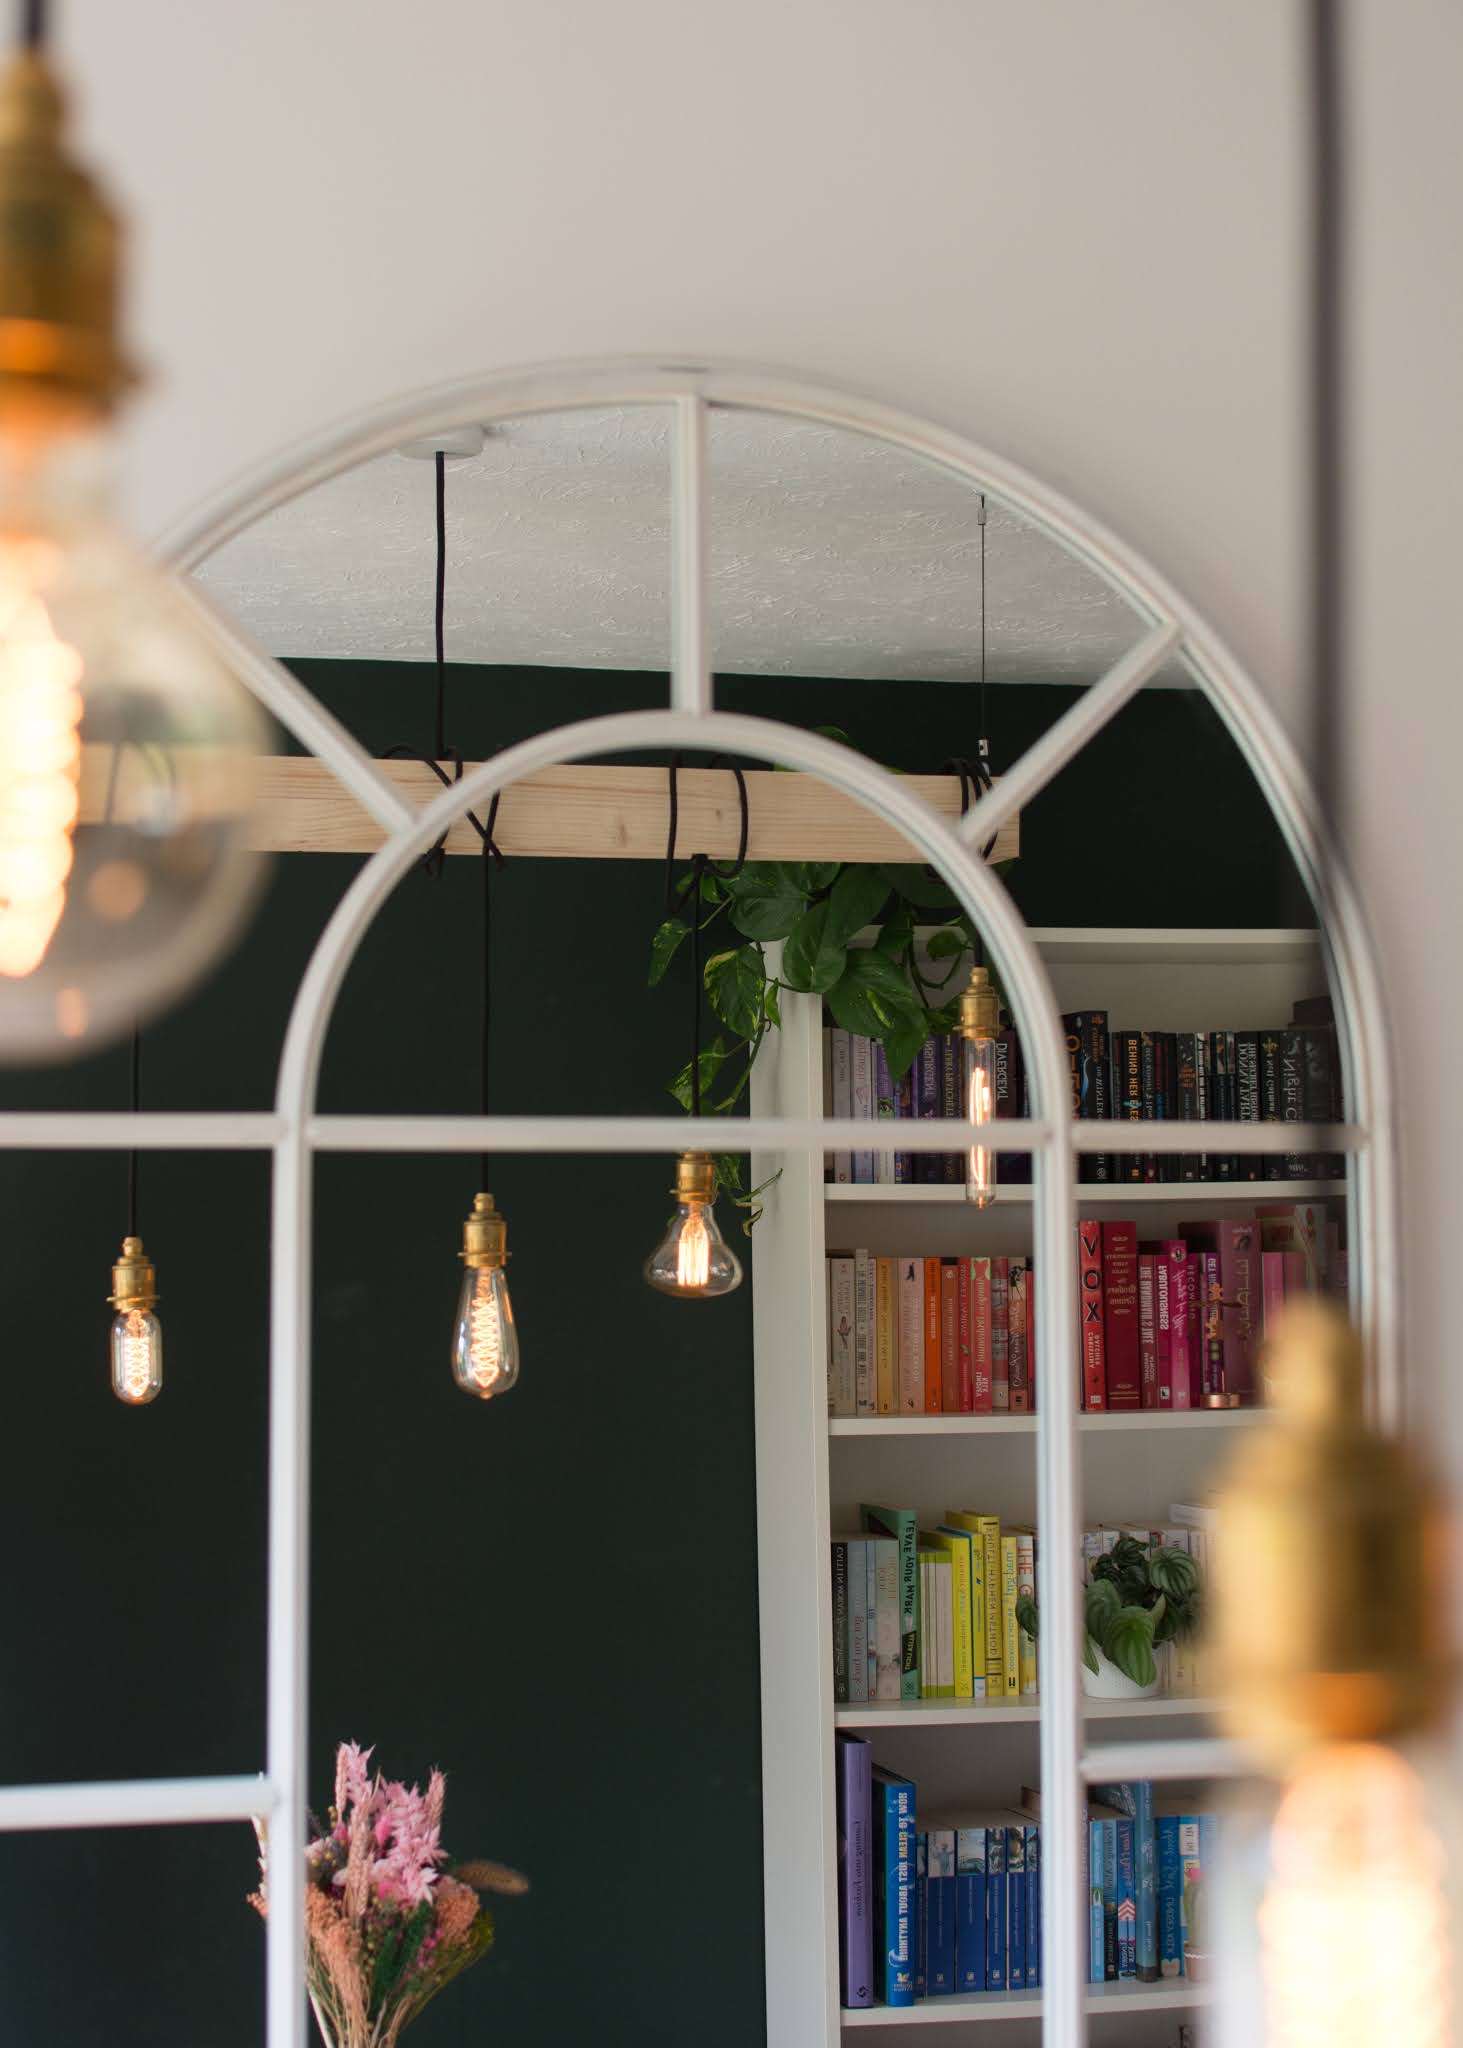
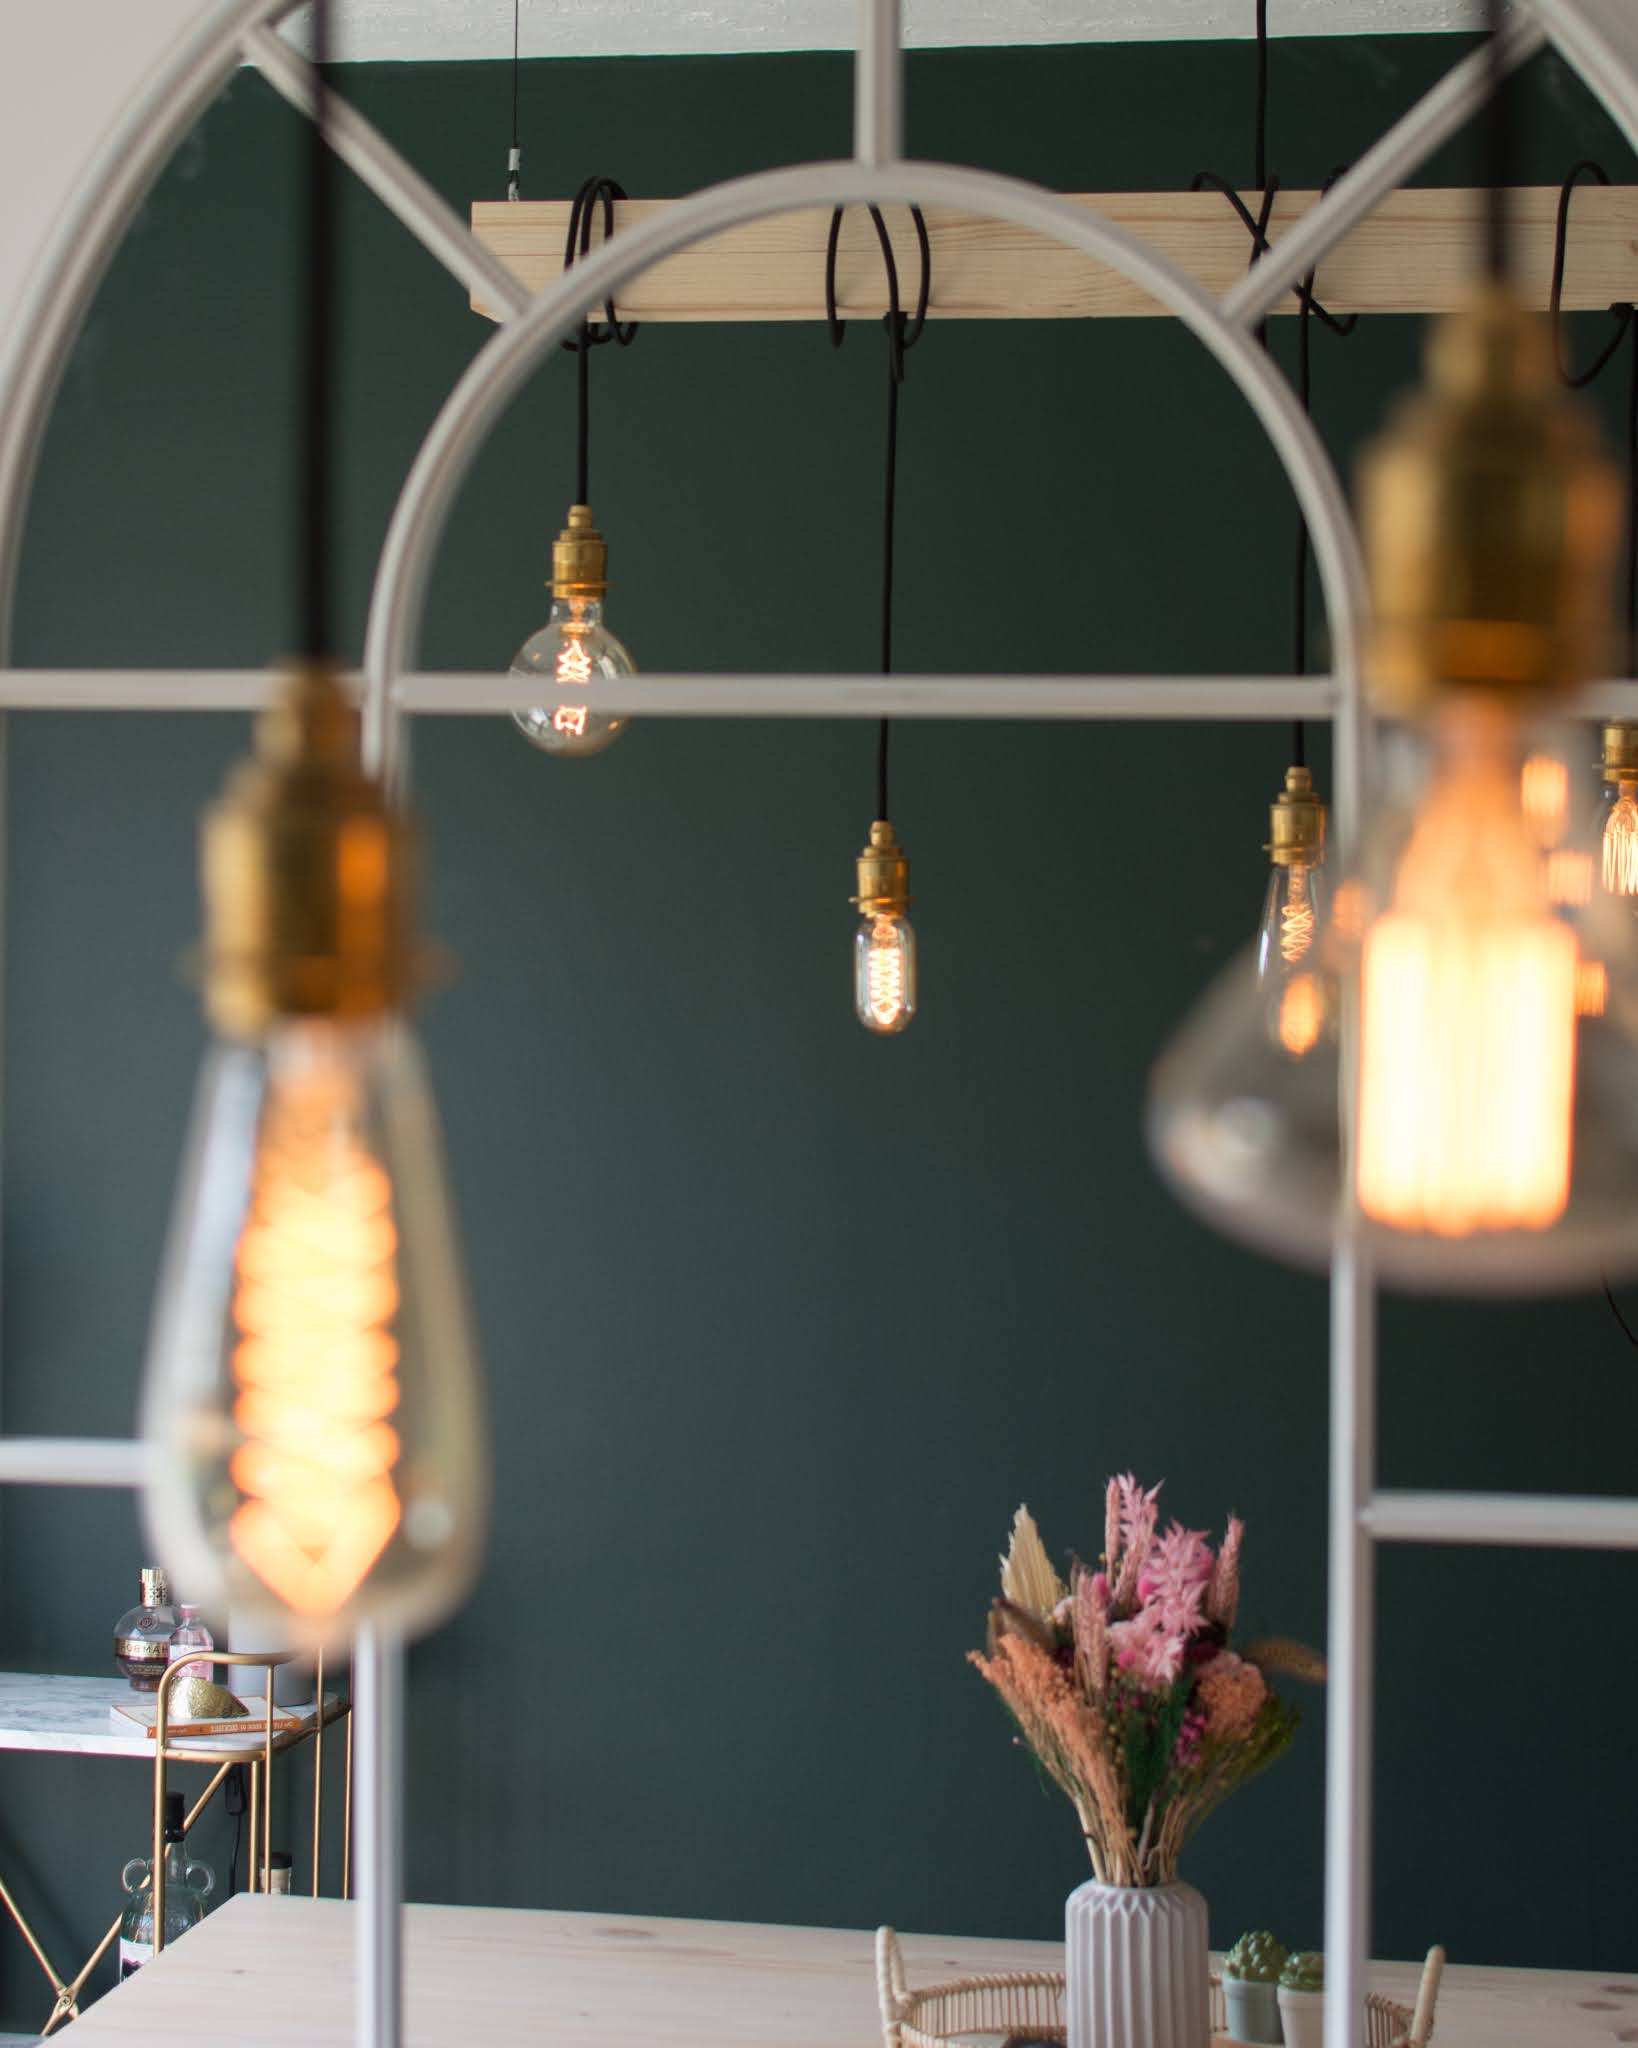
This is a hanging wooden beam light that I've made from a couple of bits of lengths of pine wood that I had kicking about in the workshop. It's actually quite simple to make. and doesn't cost much either.
If you're not comfortable with electrics and wiring, then don't attempt this. It's not worth electrocution or a house fire.
First off, I sanded and planed the two lengths of wood, so that the faces of the wood (which will be the inside) sit flush together, I then screwed the two bits of wood together at the ends to hold its shape (which will get cut off when cut to length at the end) and then squared the wood with a planer on all 4 sides - making sure not to catch the screws with the planer, as this will break the blade.
 |
 |
Then, I unscrewed the screws, split the wood apart, and marked up channels inside where I want the cables to lay. I drew a box section out in the centre, which is where each pendant cable will connect to. Its important to make everything as symmetrical as possible, so the beam doesn't hang lopsided.
Once all marked up, I chiselled out where i'd marked - only going down enough to give enough room for the cables without crushing them, but not so much room that the beam is weakened from being too thin.
Then, I drilled out where I wanted the cable for the pendants to come through, adding a little sloped bit so the cable is allowed to ease into the hole, rather than being forced 90 degrees down.
 |
 |

I screwed it back together again - using the previous screw holes, and used a wired brush to roughen the wood up a bit and rake out the grain, to make it look a bit more rustic. You don't have to use a wire brush, you can use a wire wheel etc, but this is all I had to hand at the time.
It was then a case of wiring up the light. I bought brass fittings from Lampspares and I bought 10m of 3core fabric flex from Etsy. I cut up the flex into 5 lengths and wired up the brass fitting to one of the end on each length.
I then pushed the 5 lenghts through the holes, and connected all the Neutrals together using a 6 way wago connector. They're simple to use and are push fit. I then repeated the same for Live and Earth. There should be one space left in each block - this is where the mains from the ceiling will connect to. I used a remaining bit of cable, and connected it to the connectors, and pushed it through a hole at the top of the beam light.

 |
 |

I marked on the wood where I want to trim off the ends from the prior screw holes, and I also make note on where not to drill when fixing it together, as you don't want to be drilling into any cables.
Clamp the beam together, cut the ends, screw together (preferably from the top so you don't see the screws) , and then you're ready to hang it.
I used 1.5-2.5mm suspension wire attached to a hook at each end of the light, and then a spring hook in the ceiling.
Once hung into place, turn off the electrics, and connect the wire coming out of the top of the light to the mains.
Its then a case of adding bulbs and throwing the cable over so that they hang at different levels.
I went for old Edison filament bulbs, so I changed my switch on the wall to a dimmer, so that they can be dimmed really low and you can see the filament inside
See it on Instagram


